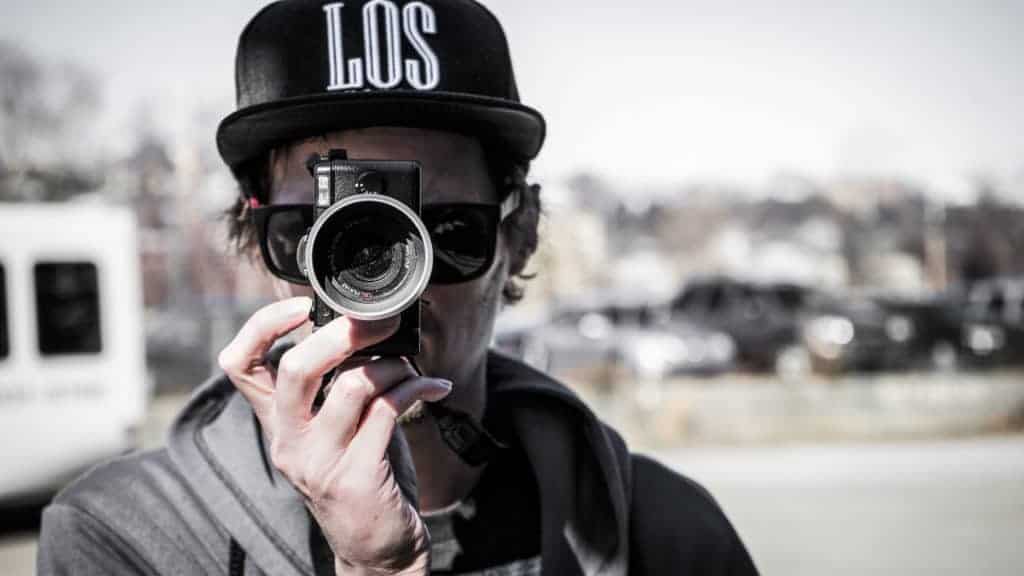
Confused? Start Here
The goal is simple: Get the picture.
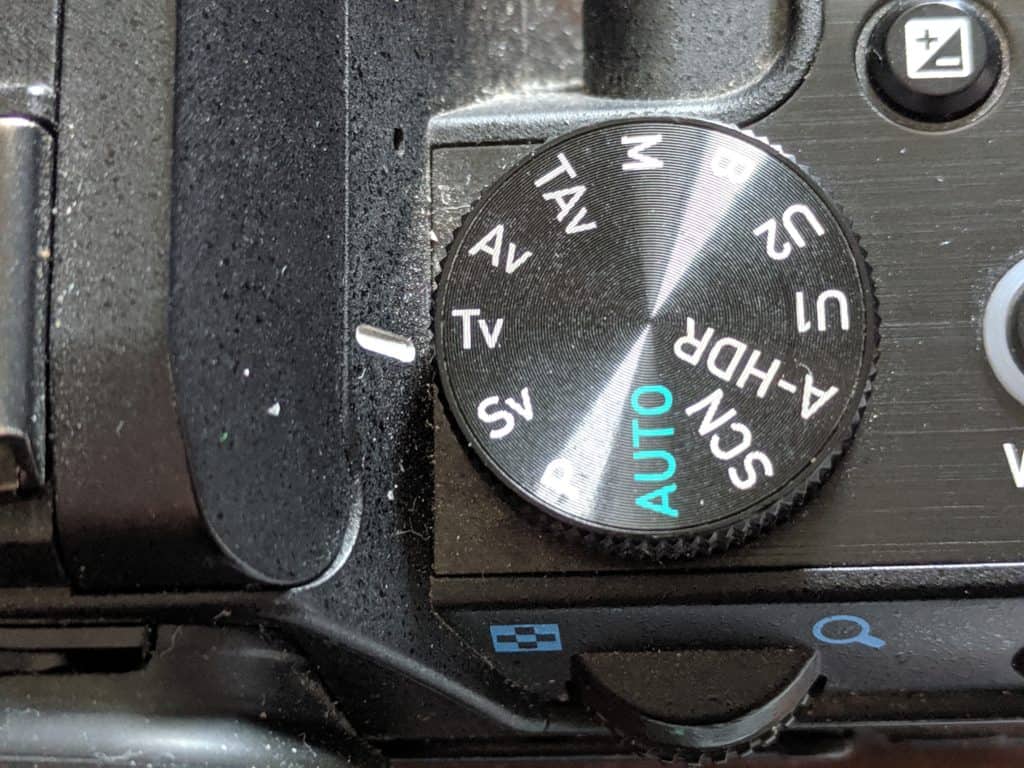
Often cameras have lots of options when it comes to modes and features.
We look at the dials, and either opt for “Auto” or try the program modes.
But which ones are worth your time? I’ll show you 3 easy modes you can try right now. And you’ll know what they do, and why you should use them.
This is my second tips and tricks post. You can find my suggestions on creating dramatic edits here.
Everyone Starts With Auto
I shot on Auto mode for years. Doing this allowed me to observe what exactly the camera was doing. And since I was novice with a DSLR, I trusted on the features and gimmicks to get the photo. Often it did, but with less control.
I shot in JPEG, and eventually moved to RAW format allowing for broader edits to the photos. ( Well get into this later ) I’d examine the settings in post. You can see settings in Lightroom, or if you’re on Windows just right click the photo then hit properties, and select details. It should show you simple things like ISO, Shutter speed, and what f/stop you used.
Its easy to use modes and get the picture. But it’s another thing entirely to study what those modes do to achieve the photo. Especially if its not how you want it to look.
When Auto doesn’t achieve desired results
Maybe its blurry. Or too dark, or frustratingly when the Camera wont take the photo. I’d often get that red symbol in the viewfinder and find myself just skipping the photo.
In the heat of the moment its easy to give up and not take the time to figure it out.
Explore New Modes
3 Easy Camera Modes You Can Try
Camera manufacturers put all these modes on the dial so we have options. Often as many options as possible to achieve capturing the subject.
Av Mode

So Av mode is for aperture priority.
This simplifies the process for when you need as much light as possible, with lots of background blur or none at all.
No worrying about shutter speed, or ISO. The Camera will determine these for you. You’re just selecting the f/stop. The smaller the number like f/1.8 the more light you gain, and the more depth of field you can achieve. Crank that number up to f/8 and you’ll have pretty much everything in the frame in focus but with less light.
Say you want a close up of something. You want to eliminate the background focus.

This is really shallow depth of field. With such a small area of focus its pretty easy to overdo it. This was on a 50mm f/1.8 lens. Which is a great starting point for people to play with this option. Often these lenses are cheap, and offer a lot of new artistic views and a lot more light than your Kit lens.
Go ahead, Try Av mode. Here’s some things to try.
- Try Av mode on a flower, pet, or favorite beverage.
- Try it in low light, by turning the wheel as low as your lens allows.
- Take note of how its adjusting the ISO, and Shutter Speed.
Tv Mode
Tv mode stands for Shutter Priority.
This is great for when you need to prioritize fast moving scenes. Or aren’t concerned about your aperture.
This dial also lets you control how much let your camera allows by utilizing the shutter speed. The slower the shutter the longer it stays open, and the faster the speed, the faster the shutter closes.
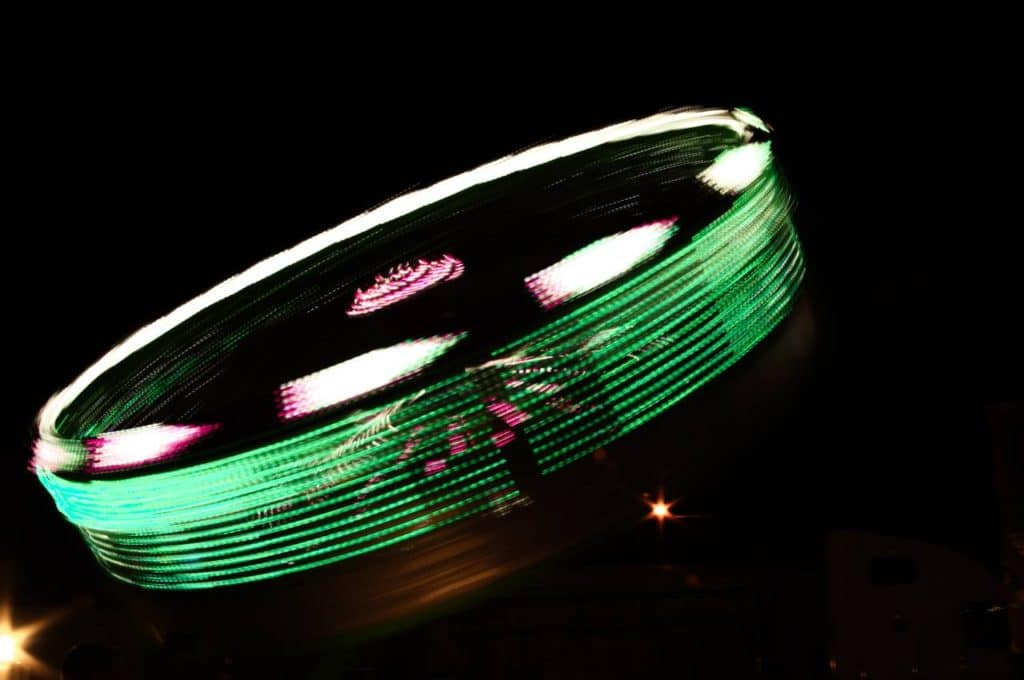
You can see here, I used Tv mode to quickly adjust my shutter speed. I knew I needed a slow shutter to keep the lights in a line, and to adjust for the very low lighting. Sometimes this can be trial and error. I recommend a Tripod for slow shutter shots. Any amount of shake will show and potentially ruin your shot.
Go ahead and try Tv mode. Here’s some quick suggestions to try:
- Try Tv mode on your Pet running, or something moving fast.
Did it capture it? Or was it blurry? - The Faster you set the shutter speed, the less light you’ll have, So try it outside during the day.
- Pay attention to ISO, and Aperture. How have they changed if at all?
- This mode is great for fast moving subjects. Sports, Kids, Even Birds. Or slow moving subjects like this Carnival ride, or Waterfalls.
Lastly, P mode

P mode stands for Program mode. It is auto with some leverage.
You can adjust your aperture and shutter speed, but only to specific amounts depending on your subject and available light.
I’d recommend trying P mode when you want to start making small changes, and ween yourself off Auto mode. I still use P mode every now and then.
It’s great when you take a picture of something, look at the back of the screen to preview the image and realize you need just a little more shutter speed or depth of field. Speed is key in photography! Moments are fleeting, so don’t ever listen to people when they intimidate you with Manual.
“You should always use Manual”
Sure, at some point you’ll prefer it. I’m often on manual. But because I educated myself on the available modes on my dials, I know when I need them and what they can bring to the table.
We don’t always have the time to re adjust settings.
Often learning as we go, but you should designate times to do that.
It’s rather embarrassing when you tell someone ” Oh, it’s blurry, can we take another one”. Often the cameras out today are really good at their program modes, and adjusting to particular subjects and scenes.
Saving you time, and embarrassment.
Once you study these 3 east camera modes, you’ll find yourself more open to manual. Don’t be intimidated or pressured by other people telling you whats best.
Study Your Camera Modes
Grow, Learn, Capture.
One response to “3 Easy Camera Modes Every Beginner Should Use | Simple Tips”
I love this post! So helpful and I needed it 🙂