Import and Edit Your Photos FREE Without Downloading Anything!

Keep It Simple
Guided Tutorial
You just finished taking photos of your friend for their Instagram and aren’t sure how to import the photos to your PC. Or you’ve just returned from a family vacation and have over 1,000 photos you took with your Phone and the storage is full.
In this easy to follow tutorial, I’ll show you how to import your photos on Windows 10 without paying for or downloading any additional photo editing software!
Not only will this save you space, time and money, but it will introduce beginner editing tips, and the best process to upload your files.
All built into Windows 10.
Ready to learn and commit to a better and more efficient editing process?
First Step is Importing the Photos
Handling images can be tedious and confusing with filenames and locations. Let’s start by plugging in your Phone, or inserting your SD card.
I’ve inserted my SD card in the side of my PC. I received a balloon notification in the lower right hand side of the screen.
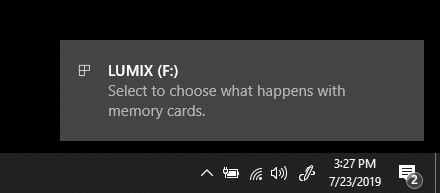
You can click this notification, or if it disappears access it through the start menu and click “This PC”. If you plugged in your phone you’ll get an option to charge, or use as a media device. Select the media option.
How to Import Photos to Windows 10
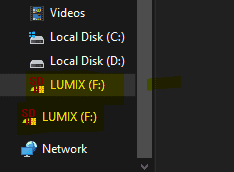
You can see my removable storage drive underneath my Hard drives. Go ahead and click that for whatever method you’re choosing to upload.

In this case for me, my GH4 is a Panasonic Lumix, so my SD card shows Lumix. When you click that storage location you’ll look for your files. Phones often have a pictures or photos location.
File Types
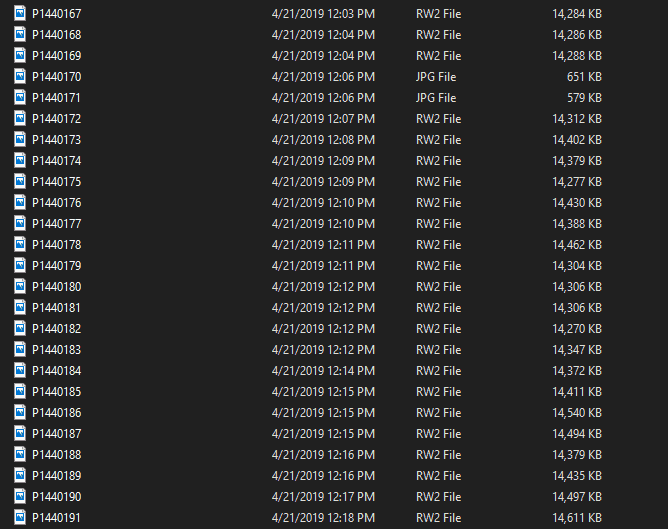
I shoot my photos in RAW, and when I take video the GH4 can grab 4K “Stills”. The RW2 are the RAW files. ( We’ll explain the difference between RAW and JPEG later) RAW files offer flat, but much deeper editing options. They are basically digital negatives.
JPG files are JPEGs which are commonly used by various devices. Windows 10 doesn’t natively display RAWs so you’ll need an external software to work with them. So let’s take import our JPG files.

What Happens, and Where do the Uploaded Pictures Go?
Often people import photos and don’t even consider where it’s being saved to.
The best way to locate your photos is to be sure to name them accurately, and set up your import settings.
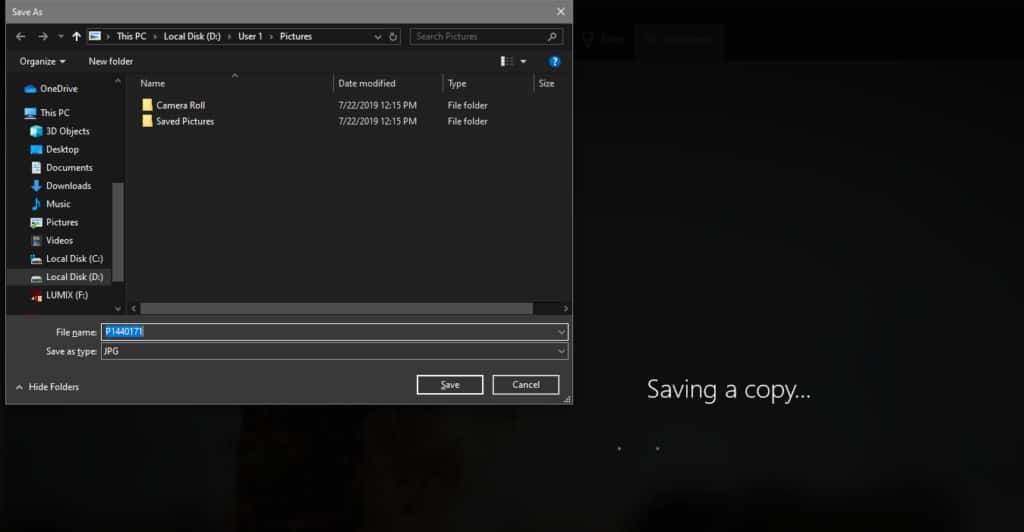
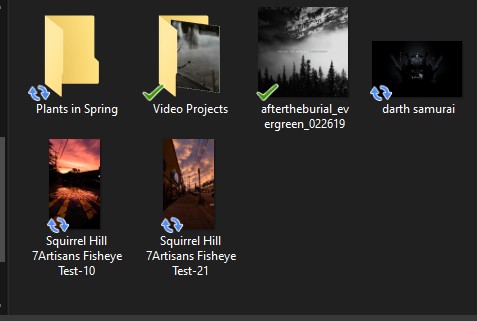
Create a New Folder, and set up your files properly so you can successfully find them.
I opted to to set mine up the Pictures folder and titled the Folder “Plants in Spring”
It’s also important to rename your file. Not only does this help Google find them for SEO ranking, but if someone saves the file, it will be an accurate title.
Let’s Try Out The Built in Editor
If you’re strapped for cash, or don’t want to invest in learning a complex photo editor.
Don’t worry!
If you have Windows 10 you can utilize the built in editing software totally free and best of all its incredibly simple to use.
Let’s Break Down The Process
So let’s analyze the first couple steps.
You don’t want to edit this photo in “Paint”
Which is what will happen by default if you just select “Edit”
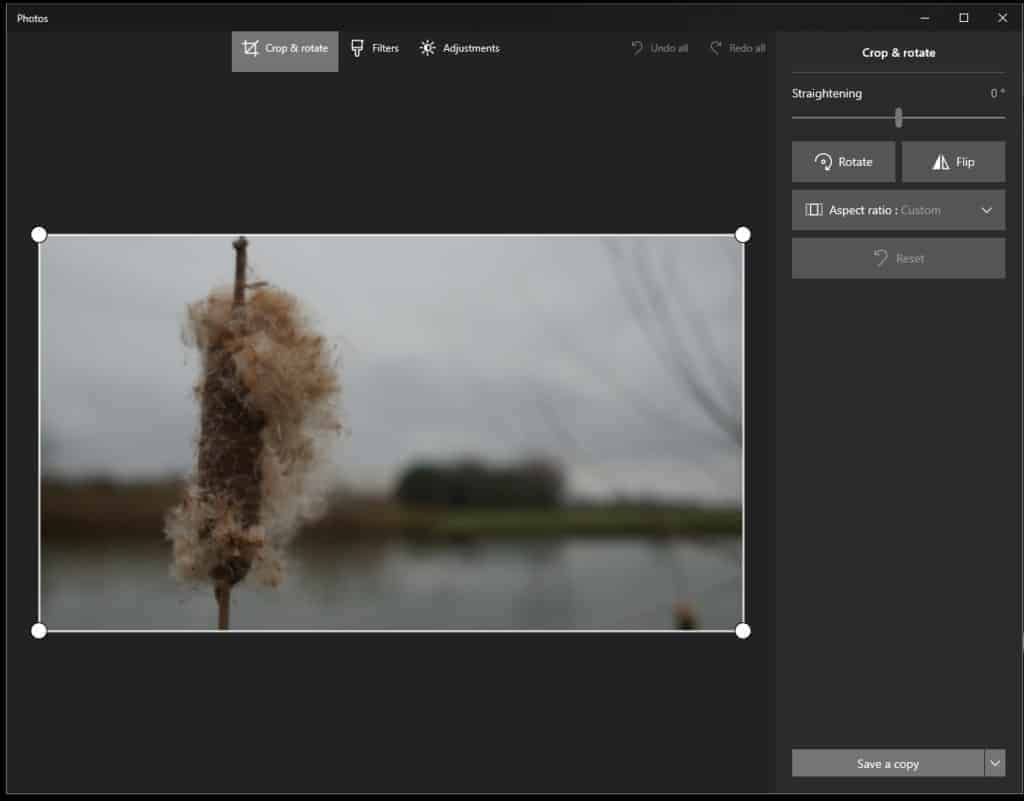
You’ll actually edit the photos in the Photo Viewer.
Right click the file or files, and select ” Edit with Photos”

Upon opening your file you’ll see you have several options.
- Crop & Rotate
- Filters
- Adjustments
Crop and Rotate is useful because now you can correct your Horizons. Or Fix the angle of the Street Photo you took. Symmetry is an important step, and having straight horizon lines or streets with buildings is important.

To Straighten your photo, align the squares with your subject so its even, and utilize the bar on the right to rotate your photo within the grid pattern.
Cropping trims down the file size, and also eliminates unwanted objects in the scene. Just drag with white lines around the Photo to eliminate any trim.
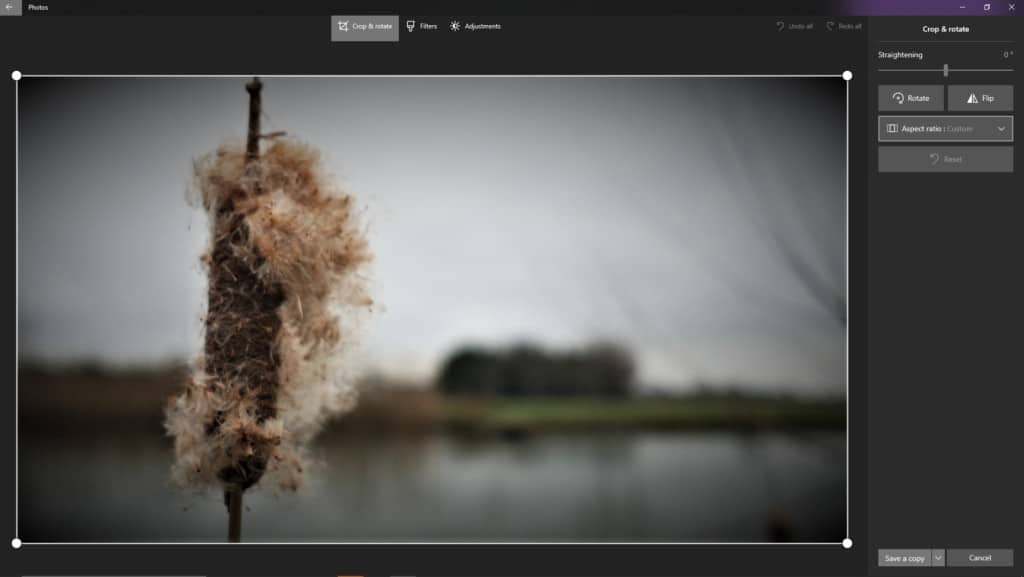
That is how you Trim and Straighten a photo. Simple, yet fast and effective.
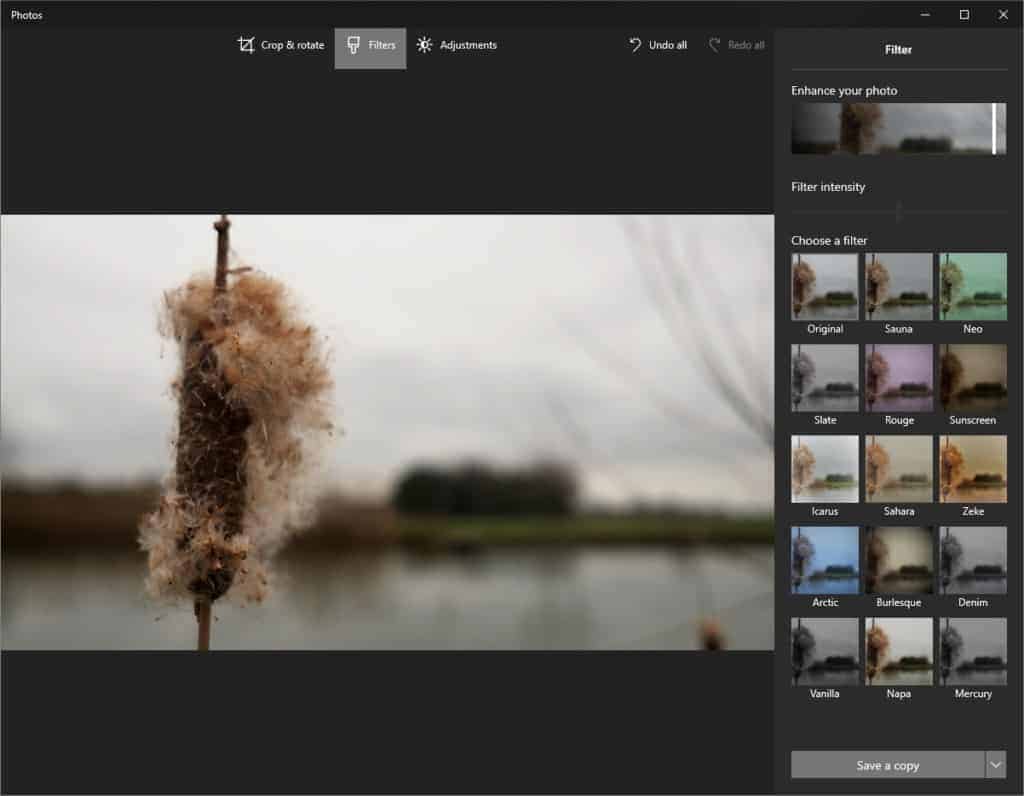
Filters
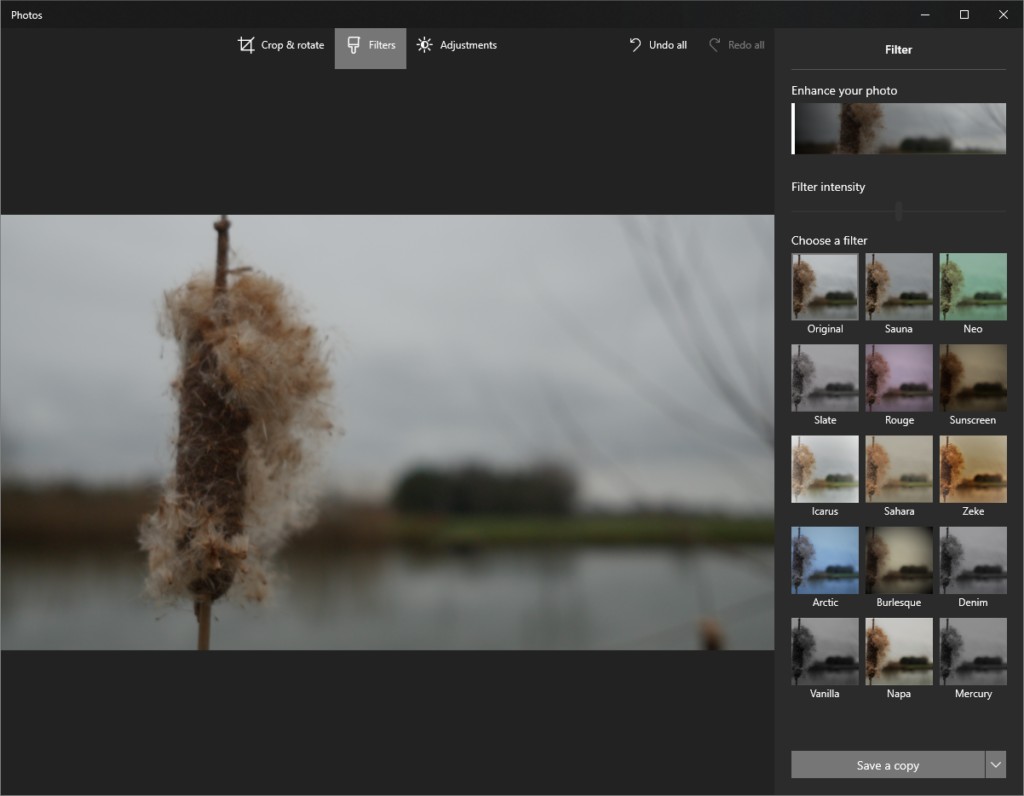
You can get wild with Filters.
But often we make the mistake of doing too much.
Think of Filters like seasoning you put in food. You can add salt and pepper, in fact you should apply a filter to most photos you do. How much, is indeed preference, but too much and you may have ruined your creation.
They have a decent range of Filters you can apply. Sometimes its best to click them, and drag the intensity slider to max, and minimum. This allows you to assess what is being changed.
Don’t Just Slap The Filter On And Hit Save
Filters are often a decent starting point for someone who wants to curate a new look. I’ve honed many styles of my black and white photos over a course of years. But often it always starts with a Preset or Filter. Then I gauge what I want to change from there.
The nice thing about JPGs, or JPEG’s, is that a slight filter is already applied when you save the photo on your camera. Often when I started that was good enough.
But now that I shoot RAW format, my pictures start off very flat, and often underexposed. So its mandatory that I edit them, and assess them independently in order to achieve my preferred style.
You might like a more natural look, or a more creative look. There is no right or wrong option to use. They are simply options that you can do whatever you want with.
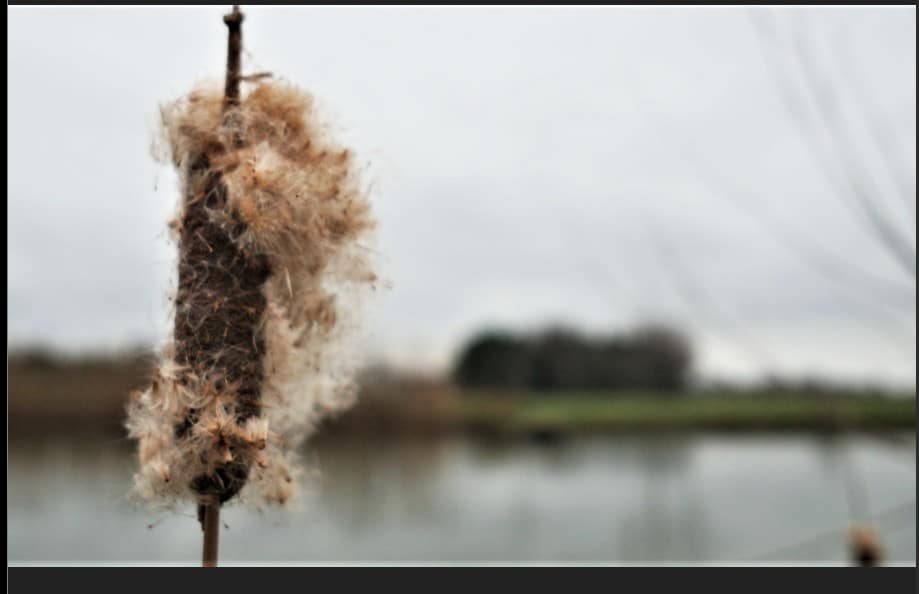
Try a couple photos with the “Enhance your photo” Slider.
You can see above that it overall changed the brightness, contrast, and a few other basic adjustments.
Often pushing a slider to the max is a bad idea.
Doing so on this image made the adjustments too harsh.
Get it right in camera as often as possible and you should be safe for slight adjustments.
That may be good enough.
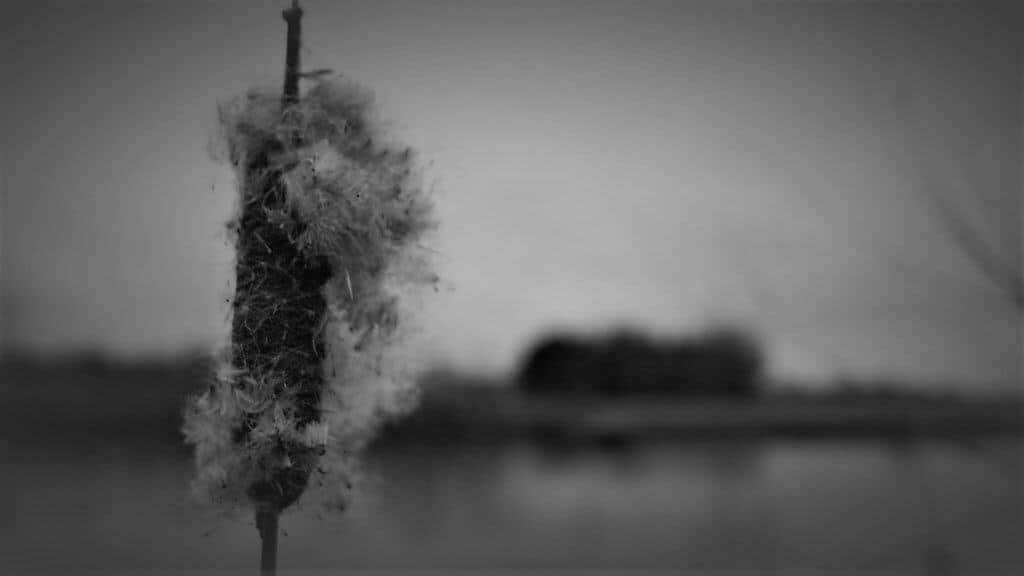
Maybe try a Black and White.
Those are just a few ways to utilize Filters.
Don’t overdo them, or apply them lazily.
Use them as reference, starting points and have fun.
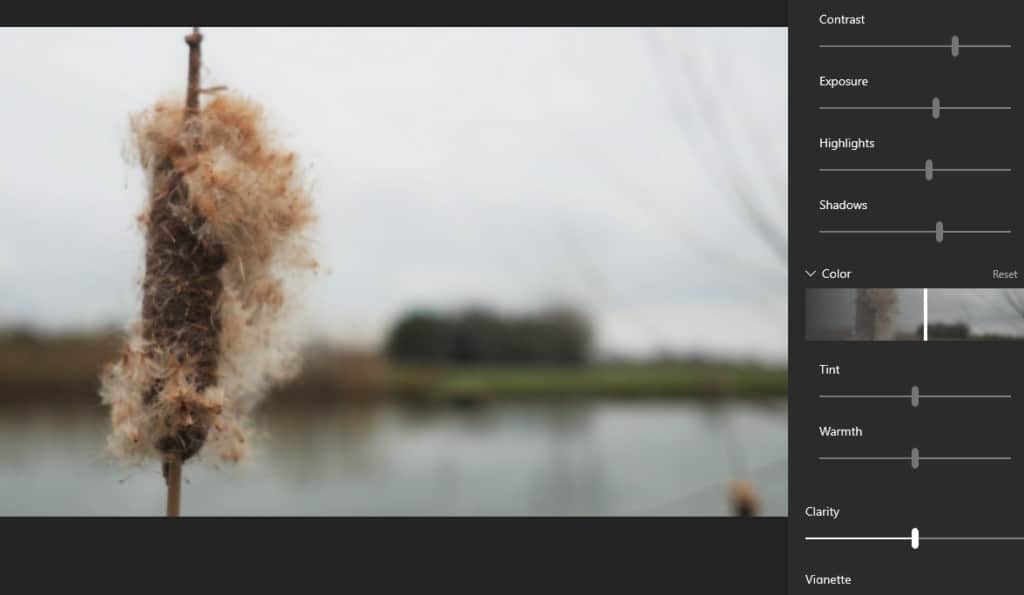
Adjustments
Adjustments are divided into 2 Basic Categories in this software.
Light
Color
Light adjustments are made up of:
- Contrast
- Exposure
- Highlights
- Shadows
Color adjustments are made up of:
- Tint
- Warmth
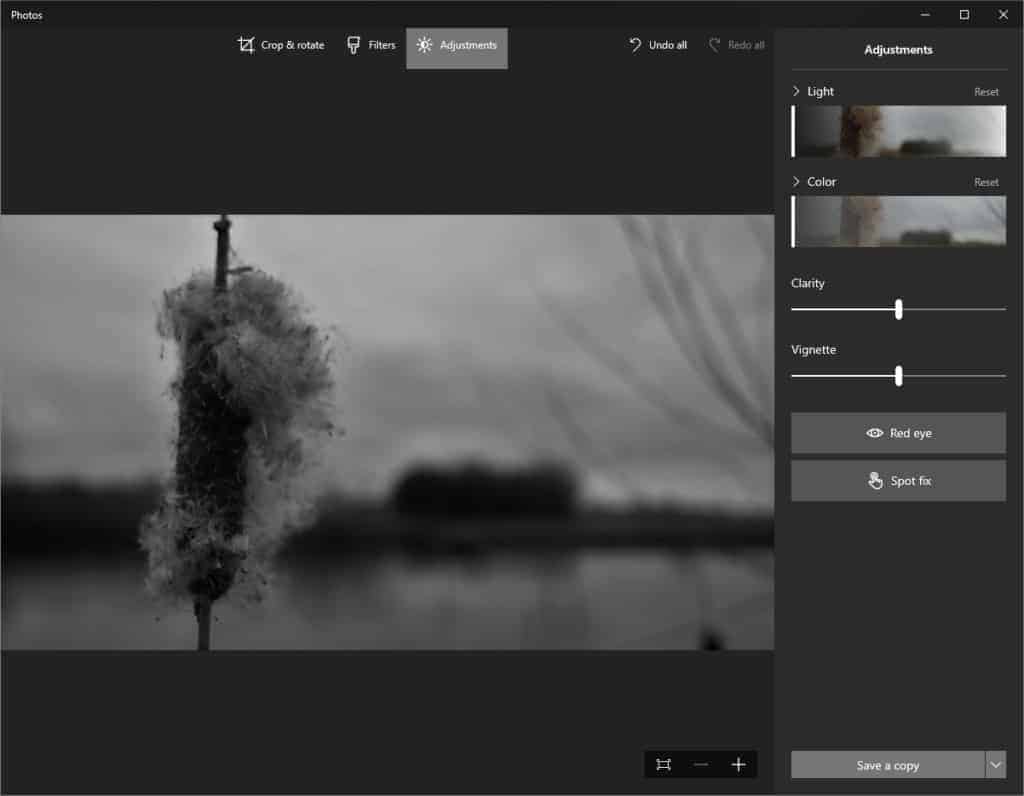
You can drag the “Light” Slider and add more or less light. Pretty simple, Click the drop down and you’ll be given more control over the properties of light.
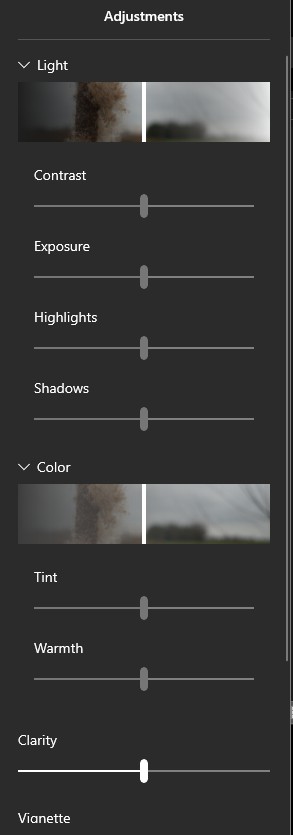
Color works the same way, drag the “Color” slider to the right, and you’ll really pop your photo with saturated colors. Or drag it all the way left for a monochrome look.
Select the drop down arrow for the ability to change the tint, and the warmth allowing you to make a photo more blue and cool, or orange and warm.
Below these options you’ll also notice Clarity, and Vignette.
If you are NEW, I advise to stay away from these adjustments. Generally our photos are shot on modern cameras with many software tricks to make them sharp.
Boosting clarity up is like boosting contrast and sharpness together, often resulting in a really overly “Boomy” look. It looks unnatural and unappealing.
Avoid this slider often.
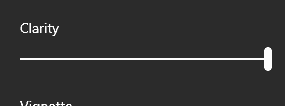
Do NOT use this slider on Portraits. Sliding it to the right or left will soften the whole image, and not certain aspects.Adversely sharpen the whole image with every skin imperfection on display.
Vignette adds dark corners or lifts them in brightness. This can make the image have a center focused appeal. But its a really old school method, and often gets used improperly.
I used to love Vignetting, but in the end found it just took unnecessary space from the whole scene. Making it more of a distraction than a useful effect.
Keep it Simple
Don’t MAX Sliders
Try Increments of +10
EXIF Info and Bonus Tip
You can find the settings you took your photo right in the file type!
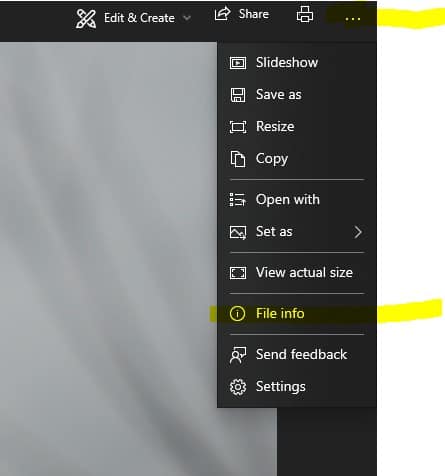
Go to Share, and select “File Info”
This brings up a panel with the secret sauce of your Photo.
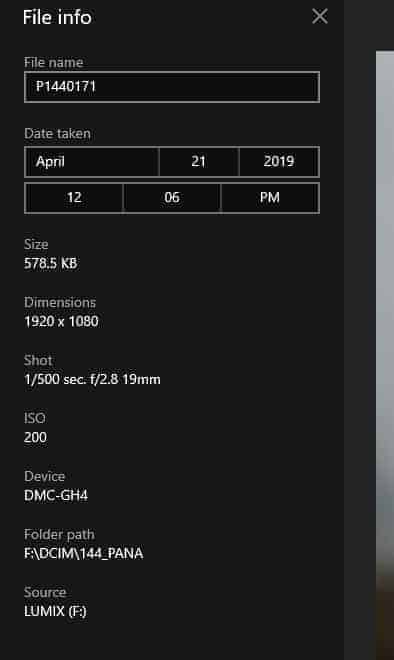
Photographers use these settings all the time. We need to know the file size for uploads to different media outlets. The dimensions for distribution to printers, or websites.
And the settings at which it was shot, the Camera you used, and even the exact date and time!
Folder path is telling you where the original image is stored.