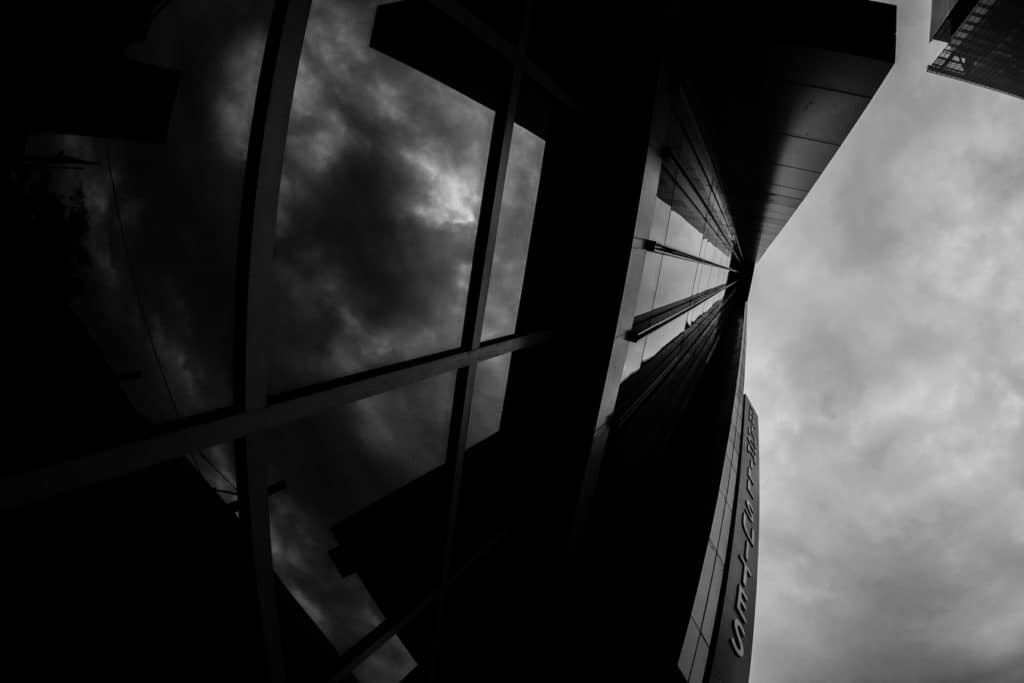
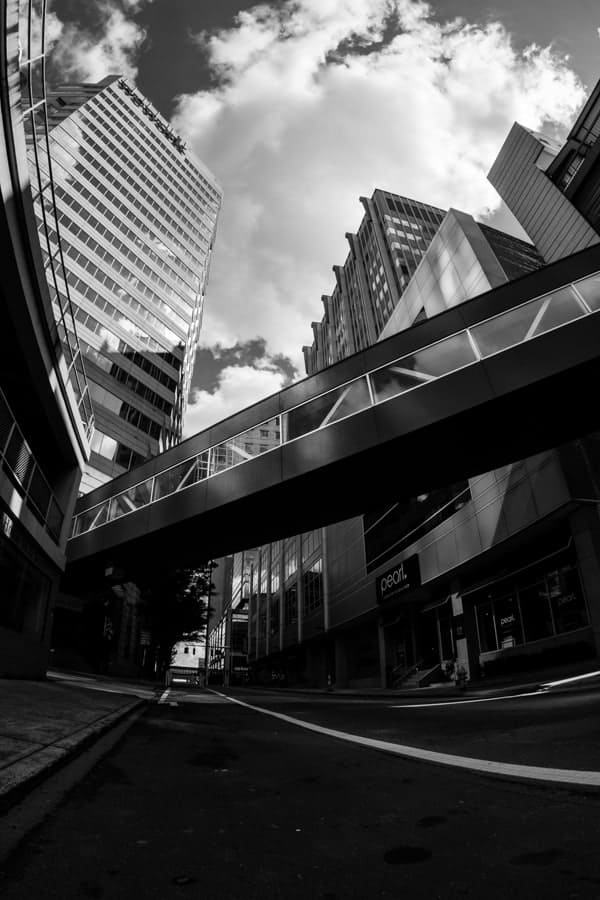
I remember editing my black and white photos as JPEG’s with simple Presets, or Filters on Instagram with VSCO. Many years later I learned to utilize RAW format. Doing so allowed me to unlock a ridiculous amount of “channels” because of the bit depth in digital cameras. This takes your images from flat grey and black, to deep, dramatic black and white with a simple tone curve adjustment.
What Is Bit-Depth?
Okay, so Bit Depth is a technical term in which a Digital Camera stores color channels. 1 Bit is like a switch, black and white, 2 bits is 4 values, black and white and some grey. By the time we get to 8 bits, that’s 256 shades. By then you’ve added in the 3 primary colors, Red, Green, and Blue.
Crunch some numbers
256 values per color channel.
With three color channels, that’s 256 shades of red x 256 shades of green x 256 shades of blue for a total of around 16.7 million individual colors. Currently modern cameras go up to 16 bits. That’s an absurd 281,474,976,710,656 total colors.
Now that we better understand just how many shades we can utilize in our RAW images, we can really punch in some blacks and whites.
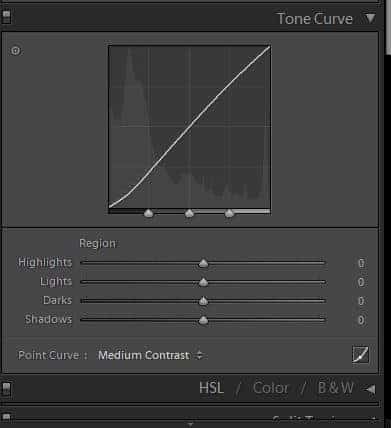
Tone Curve | Lightroom
Take any image you want. My image is a little on the dark side as you can see in the histogram above. But well balance it out a little better, and apply a beautiful tone curve anyway.
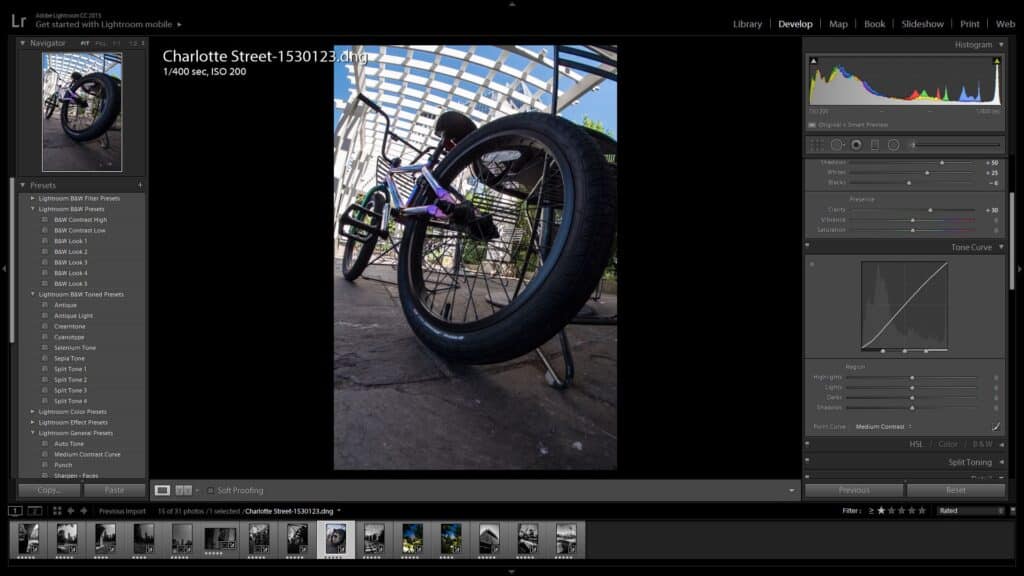
The tone curve sidebar is in your develop module, and you can adjust the image using this two different ways. One is by dragging the white line within the box over the histogram with the mouse up and down.
Another is by taking the pin, the little dot in the top left corner under tone curve and pin and hold it to adjust the tone curve. I use the pinning technique for every image. I’ve developed a workflow in Lightroom that allows a real slick and constant look I’m going for.
Often to adjust exposure I drag my histogram. To set contrast, I apply either a medium or strong contrast profile and use the pinning method to achieve dramatic looking black and white edits.
Another secret tip is to underexpose by 1-1.5 stops.
-
30% Off Photography Prints & Posters

Decorate your new dorm or apartment with Society6’s Back to School Promotion. Save up to 40% on Posters, Framed Prints, Acrylic Prints, Wood Prints and mix and match your favorite artwork.
-
The Essence of Puerto Rico | An Adventurous Perspective
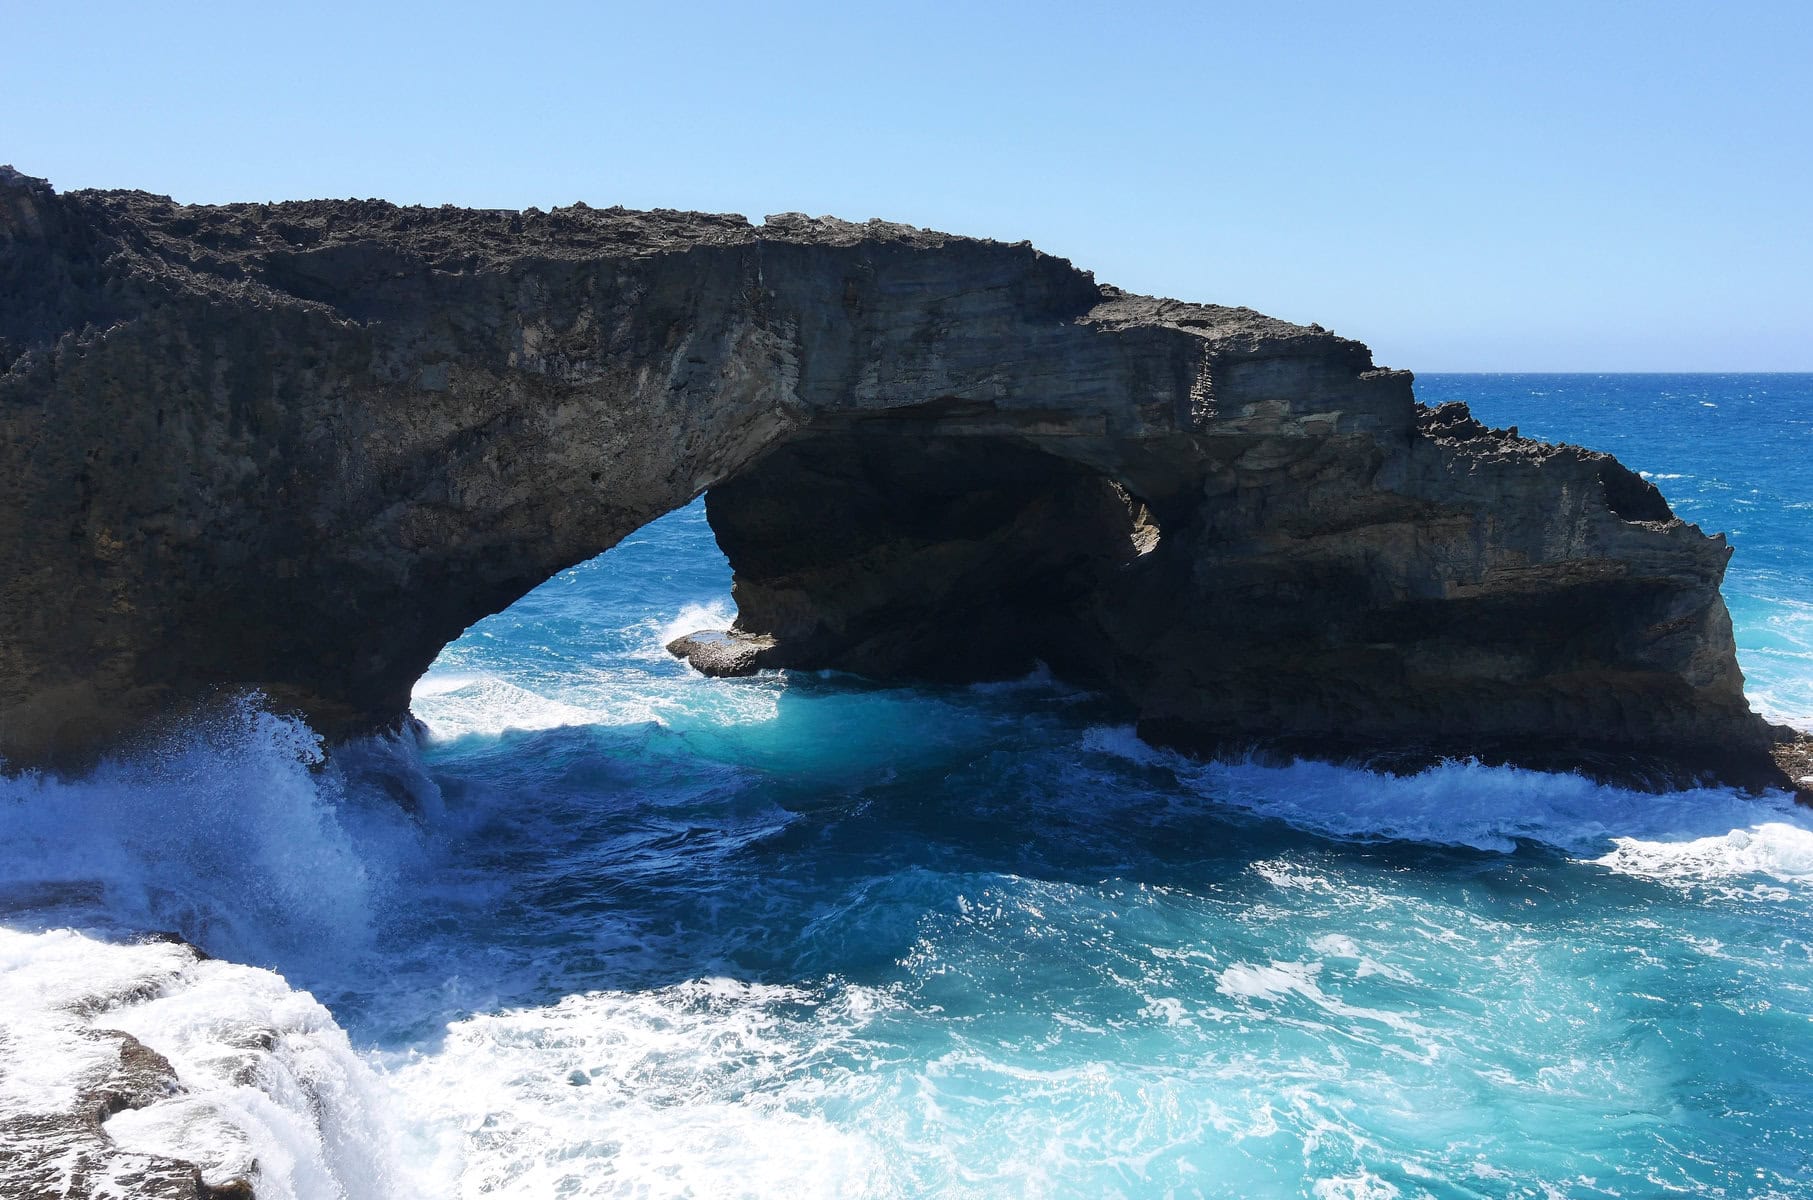
Often overlooked, Puerto Rico offers diverse landscapes and vibrant colors, making it a paradise for photographers. Key highlights include: I wanted to visit Puerto Rico because I didn’t need a passport. Plus, airfare and travel cost are much lower than other vacation destinations. You’ll see what drew me to Puerto Rico in a glimpse with…
-
What’s Been Selling

Photography is an art form that captures the beauty of the world around us. And what better way to showcase this beauty than through stunning photography prints? Society6 is a platform that allows photographers and artists to sell their work as high-quality prints. In recent years, some photography prints have been selling like hotcakes on…
-
Camera Day With My Brother | CLT, NC

2 responses to “From Grey To Black | Dramatic Edits With Tone Curve”
Amazing. Really like the black and white tone which you produce using LR.
I appreciate it, Hopefully it helped you.