Since spring started, I had the ambition to try some Infrared Photography. I think it was in part to expand how my black and whites are done, but also because of some of the work Noe Alonzo (Noealz) has done. It led me to create my own Infrared Series.
Part of the reason digital photography has stuck with me is the capability of so many new things to try. Its an ever expanding field. Whats beautiful about this inspiration is that I believe Noe has been shooting for only a few years. I’ve been shooting for more than 12, yet there is something to learn from someone else’s work. Crazy how some can pick up a camera, and be that good in such a short period of time.
So Then I Bought Stuff
And by buying things, it was either converting a cameras sensor for IR permanently, or buying a lens filter. Hoya makes this R72 Infrared Filter. Its about $50+ on Amazon. I like Hoya products. I’ve used their filters before and they’ve been great. So I got this for my Sigma 19mm, to cut out entirely too many stops for my little gh4 sensor. I’m a fan of pushing the limits.
I also had to make sure my camera body could even detect infrared on the sensor. Testing for this is simple, just point a tv remote at the lens and see if you see an orb on your camera screen. If you don’t then your camera has an IR blocking filter. And youll probably have to do a IR pass through sensor conversion.
So what does this filter do and how does it work?
Infrared light starts in the high-red area of the visible spectrum at around 750nm and goes up beyond 1000nm.
This light is not visible to the naked eye. Looking through the R72 filter, it looks almost opaque because the filter is only passing light from the very high red edge of the visible spectrum and infrared light. Infrared photography yields very interesting, sometimes stunning, and creative result as object in a scene reflect infrared light differently than normal light.
Hoyas Product Page
First Steps Into The Unknown
Because this lens is blocking almost 13 stops of light, this makes it almost impossible to see what your framing. Infrared Photography needs more prep than I’d like. You absolutely need a reliable light tripod. And you have to unscrew the filter on and off to compose your shot. You’ll probably slow down and shoot less because of this hassle.
I’m learning to adapt to the change of pace.
Or I’ll just convert a camera for Infrared. No more filter hassle!
But for now, and the cost of entry to learn. I love this Hoya R72 Lens Filter! Speaking of learning…
Learning The Hard Way
Lets talk about how many times I went out and failed. Settings didn’t make sense. I couldn’t see what I was shooting and I forgot steps. Then there is this confusion about setting white balance?
Somehow my camera of 3 years felt foreign. But its about the feeling, and aesthetic right? So, like a true Sagittarius, I dove in.

I kept my ISO low at 100, locked in a f/5 to about f/8 to get majority of the scene in focus. What I understand about exposing for things too dark to preview with filters is, you lock in exposure and pre focus, then attach the filter and shoot.
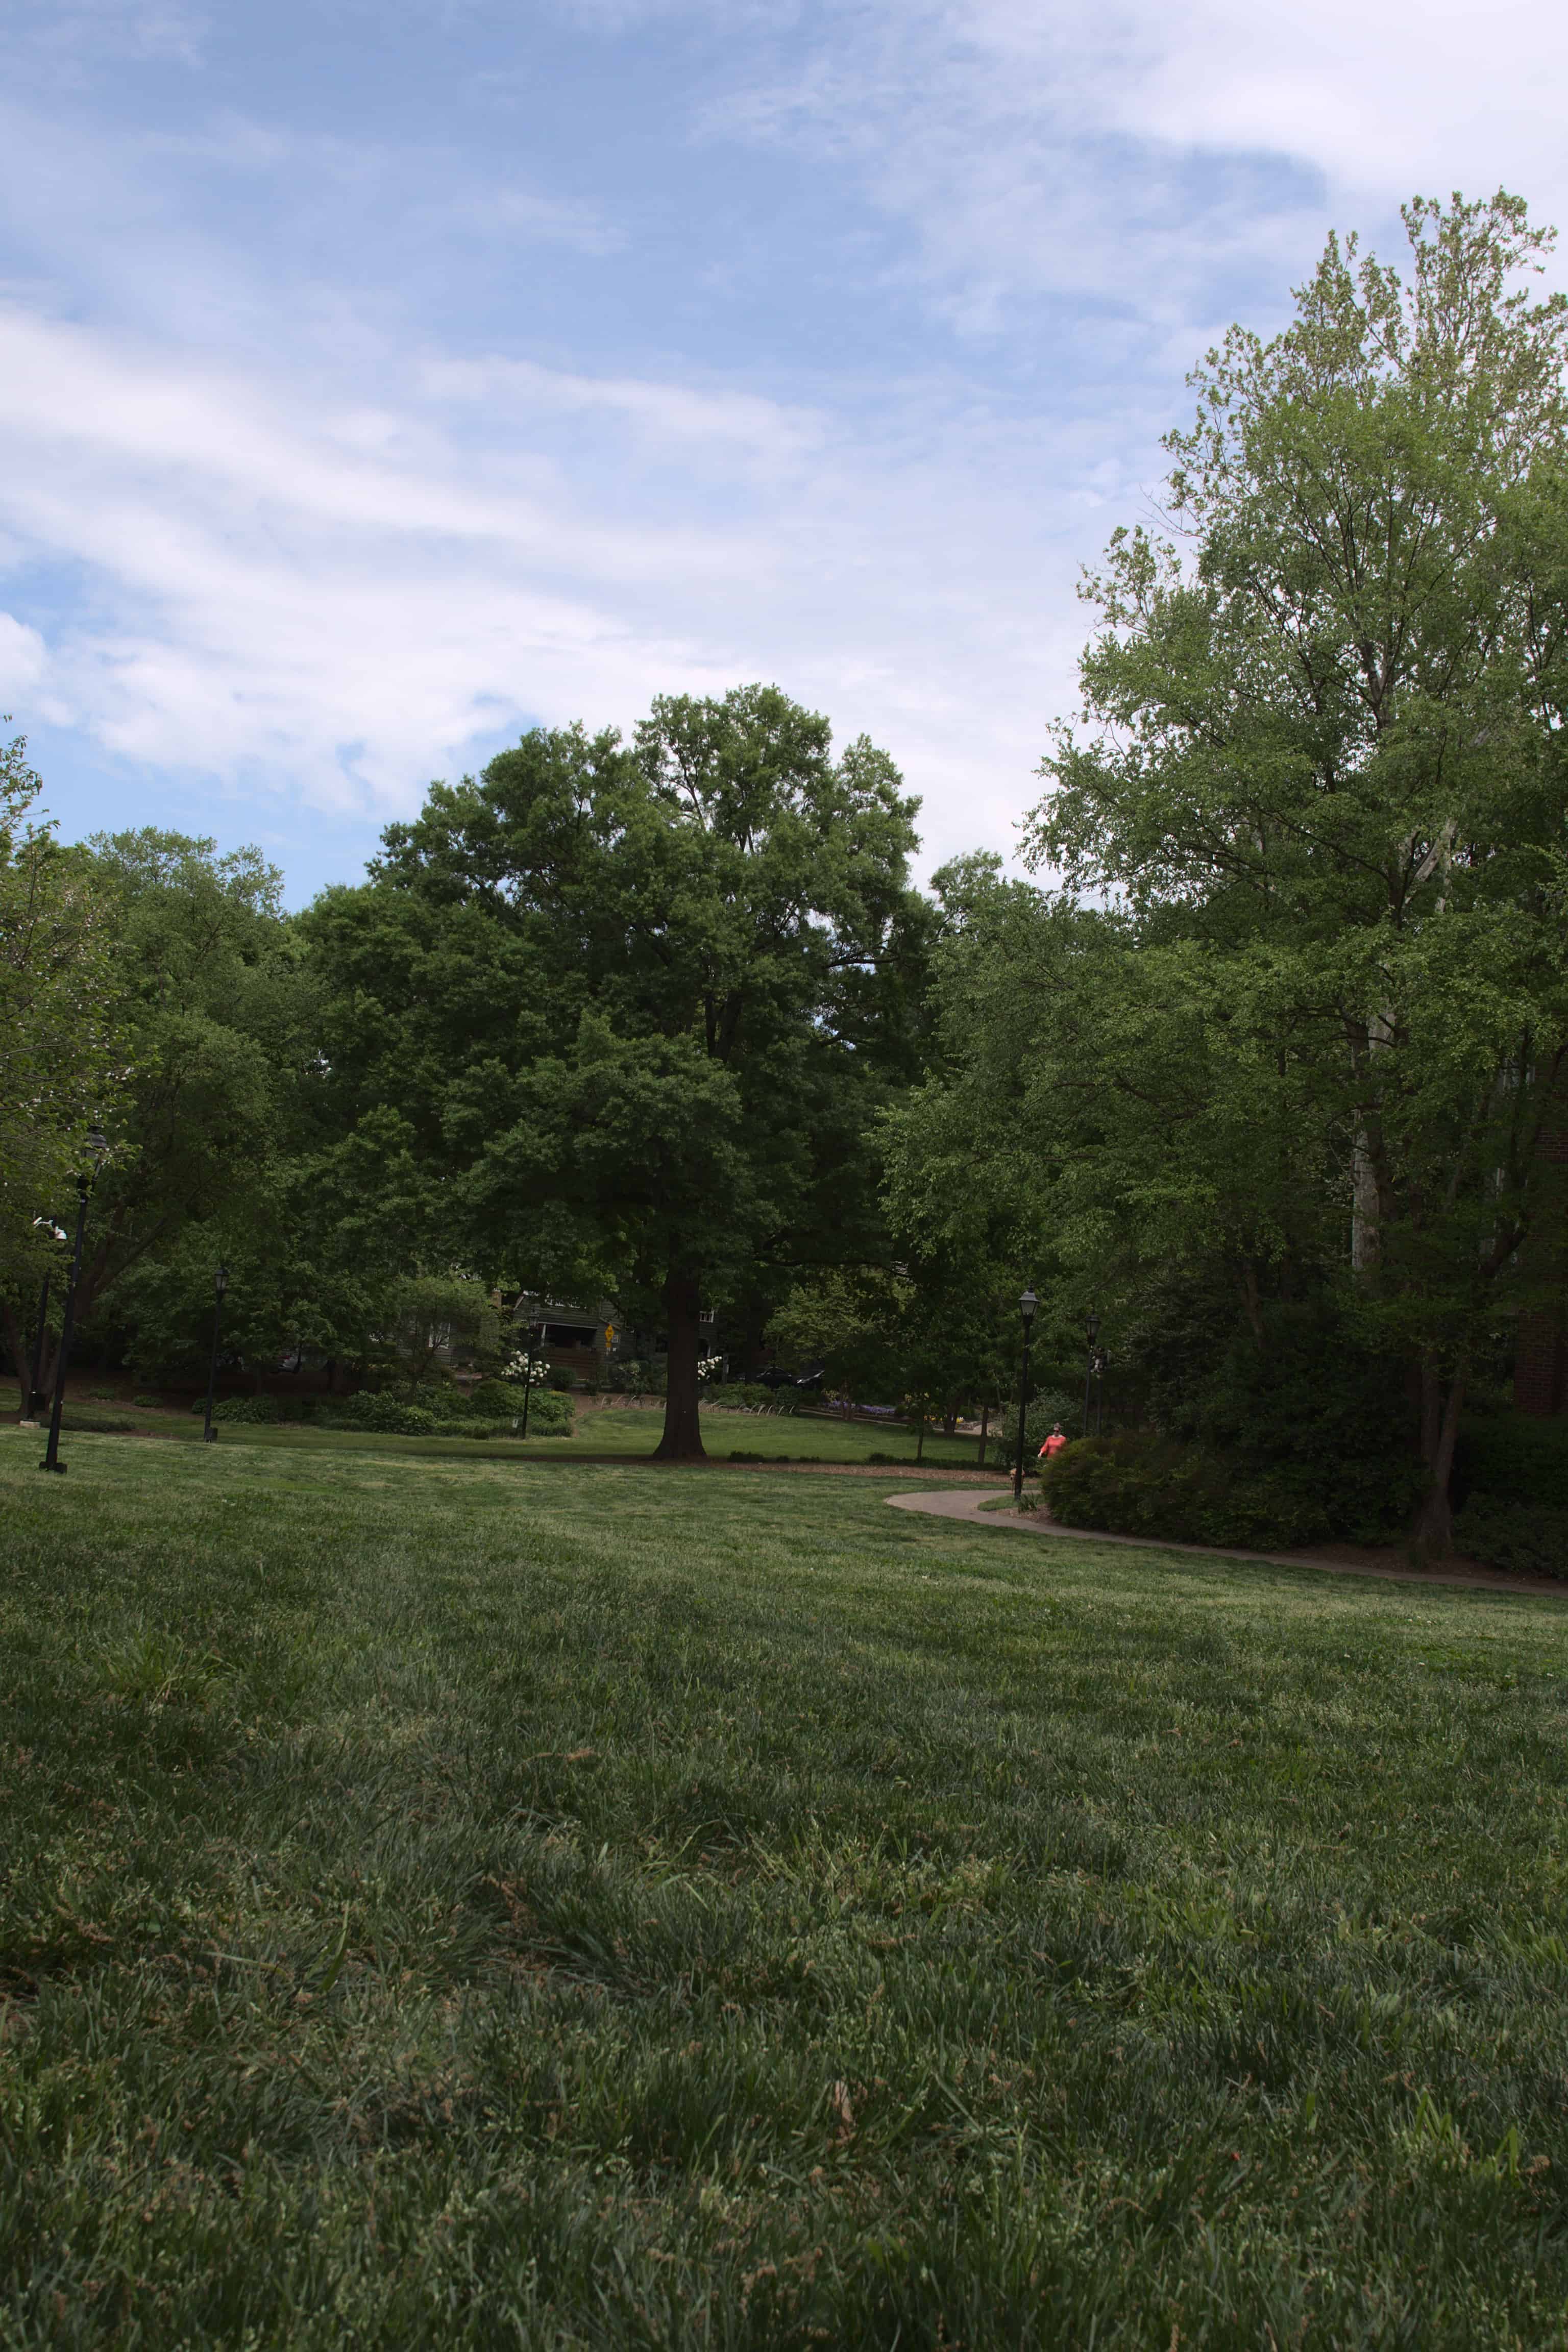
With Filter / Without Filter

Comparing The Starting Point
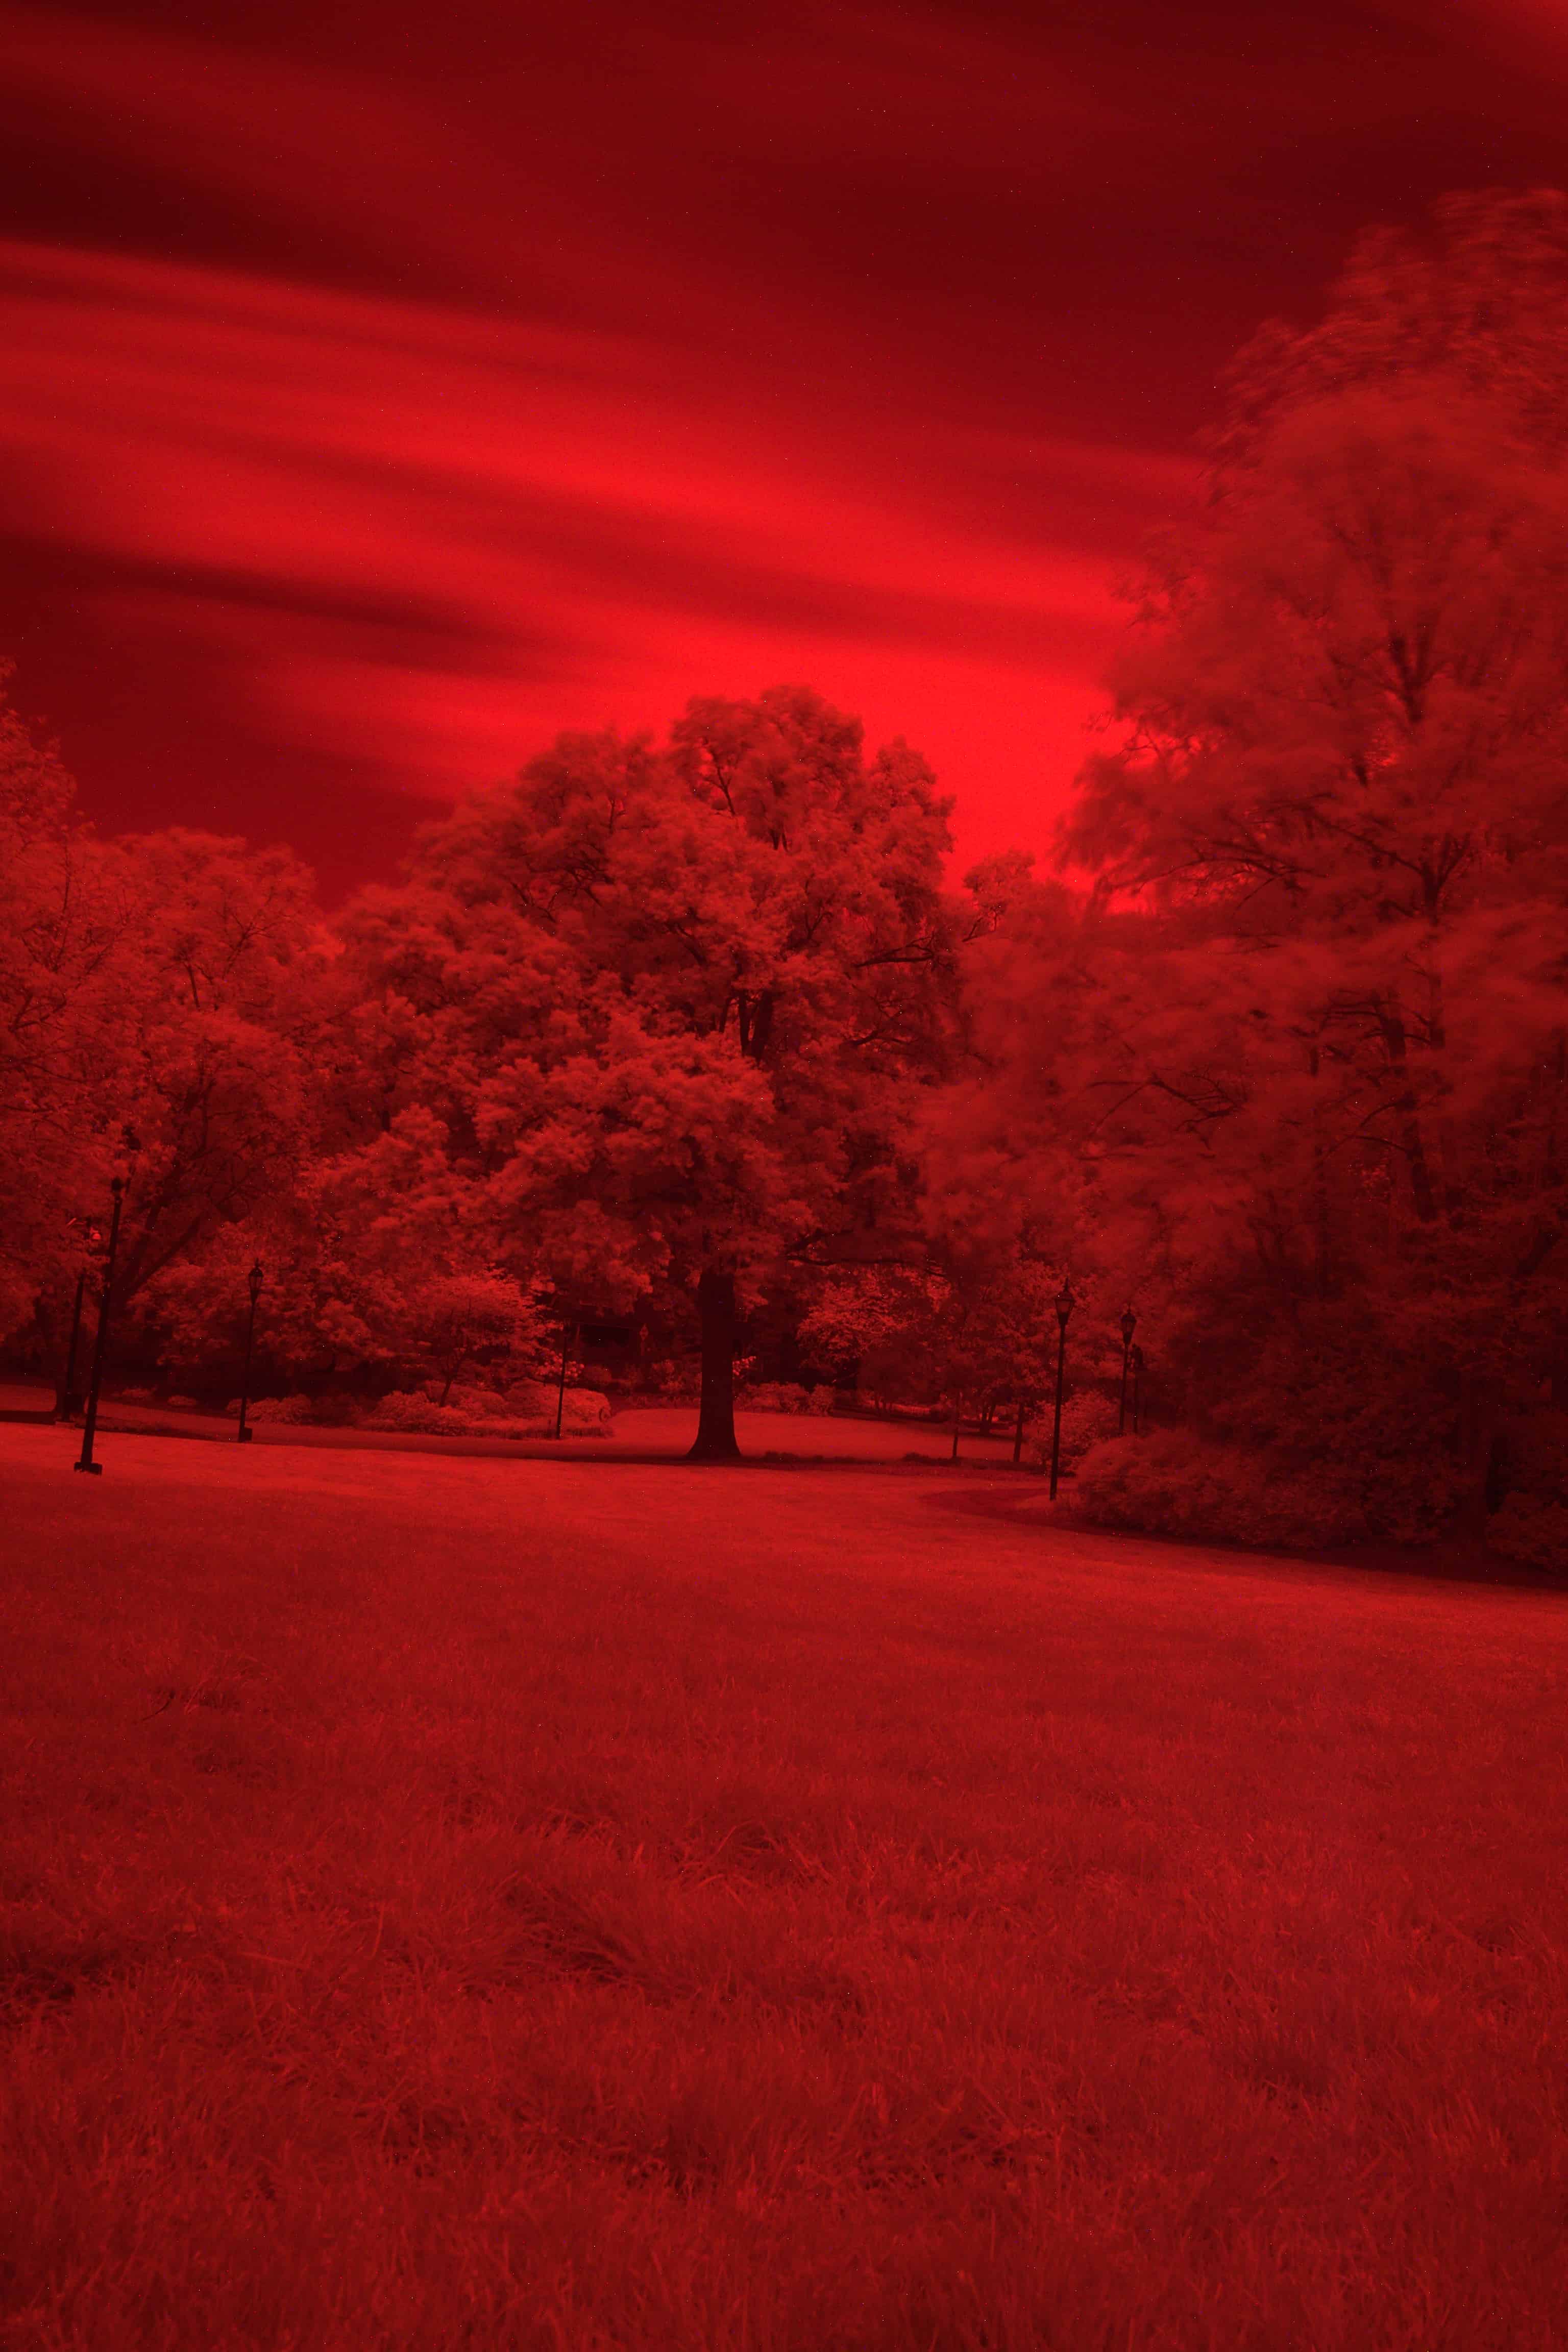
I quickly realized that my first attempt with this look was how orange everything was. This has something to do with the filter itself, but also user error. I was under the impression from others that you need to set a custom white balance. But if I’m shooting RAW, what is the point? Its all neutral anyway. Then there was a lot of doubts about exposure time, and the ISO.
How do I make use of this tiny GH4’s imaging sensor?
Admitting Defeat
Once I got these home on the monitor, I quickly found that these weren’t the look I was hoping to achieve. This led to a lack of motivation I originally had, and found myself over analyzing the process and getting too much input and not enough PRACTICE.
Which leads me to a point about any creative passion.
Stop researching and PRACTICE. Its okay to fail when you’re experimenting. It’s part of the process.
I read tons of things from other photographers about the best filters, cameras, methods and settings. None of them helped. In fact, it only led to a lack of my own personal taste.
Its an issue if you’re taking pictures based on someone else’s settings and advice. The beauty of a camera is often how and what you choose to shoot with. This goes for many creative outlets.
Second and Final Attempt.
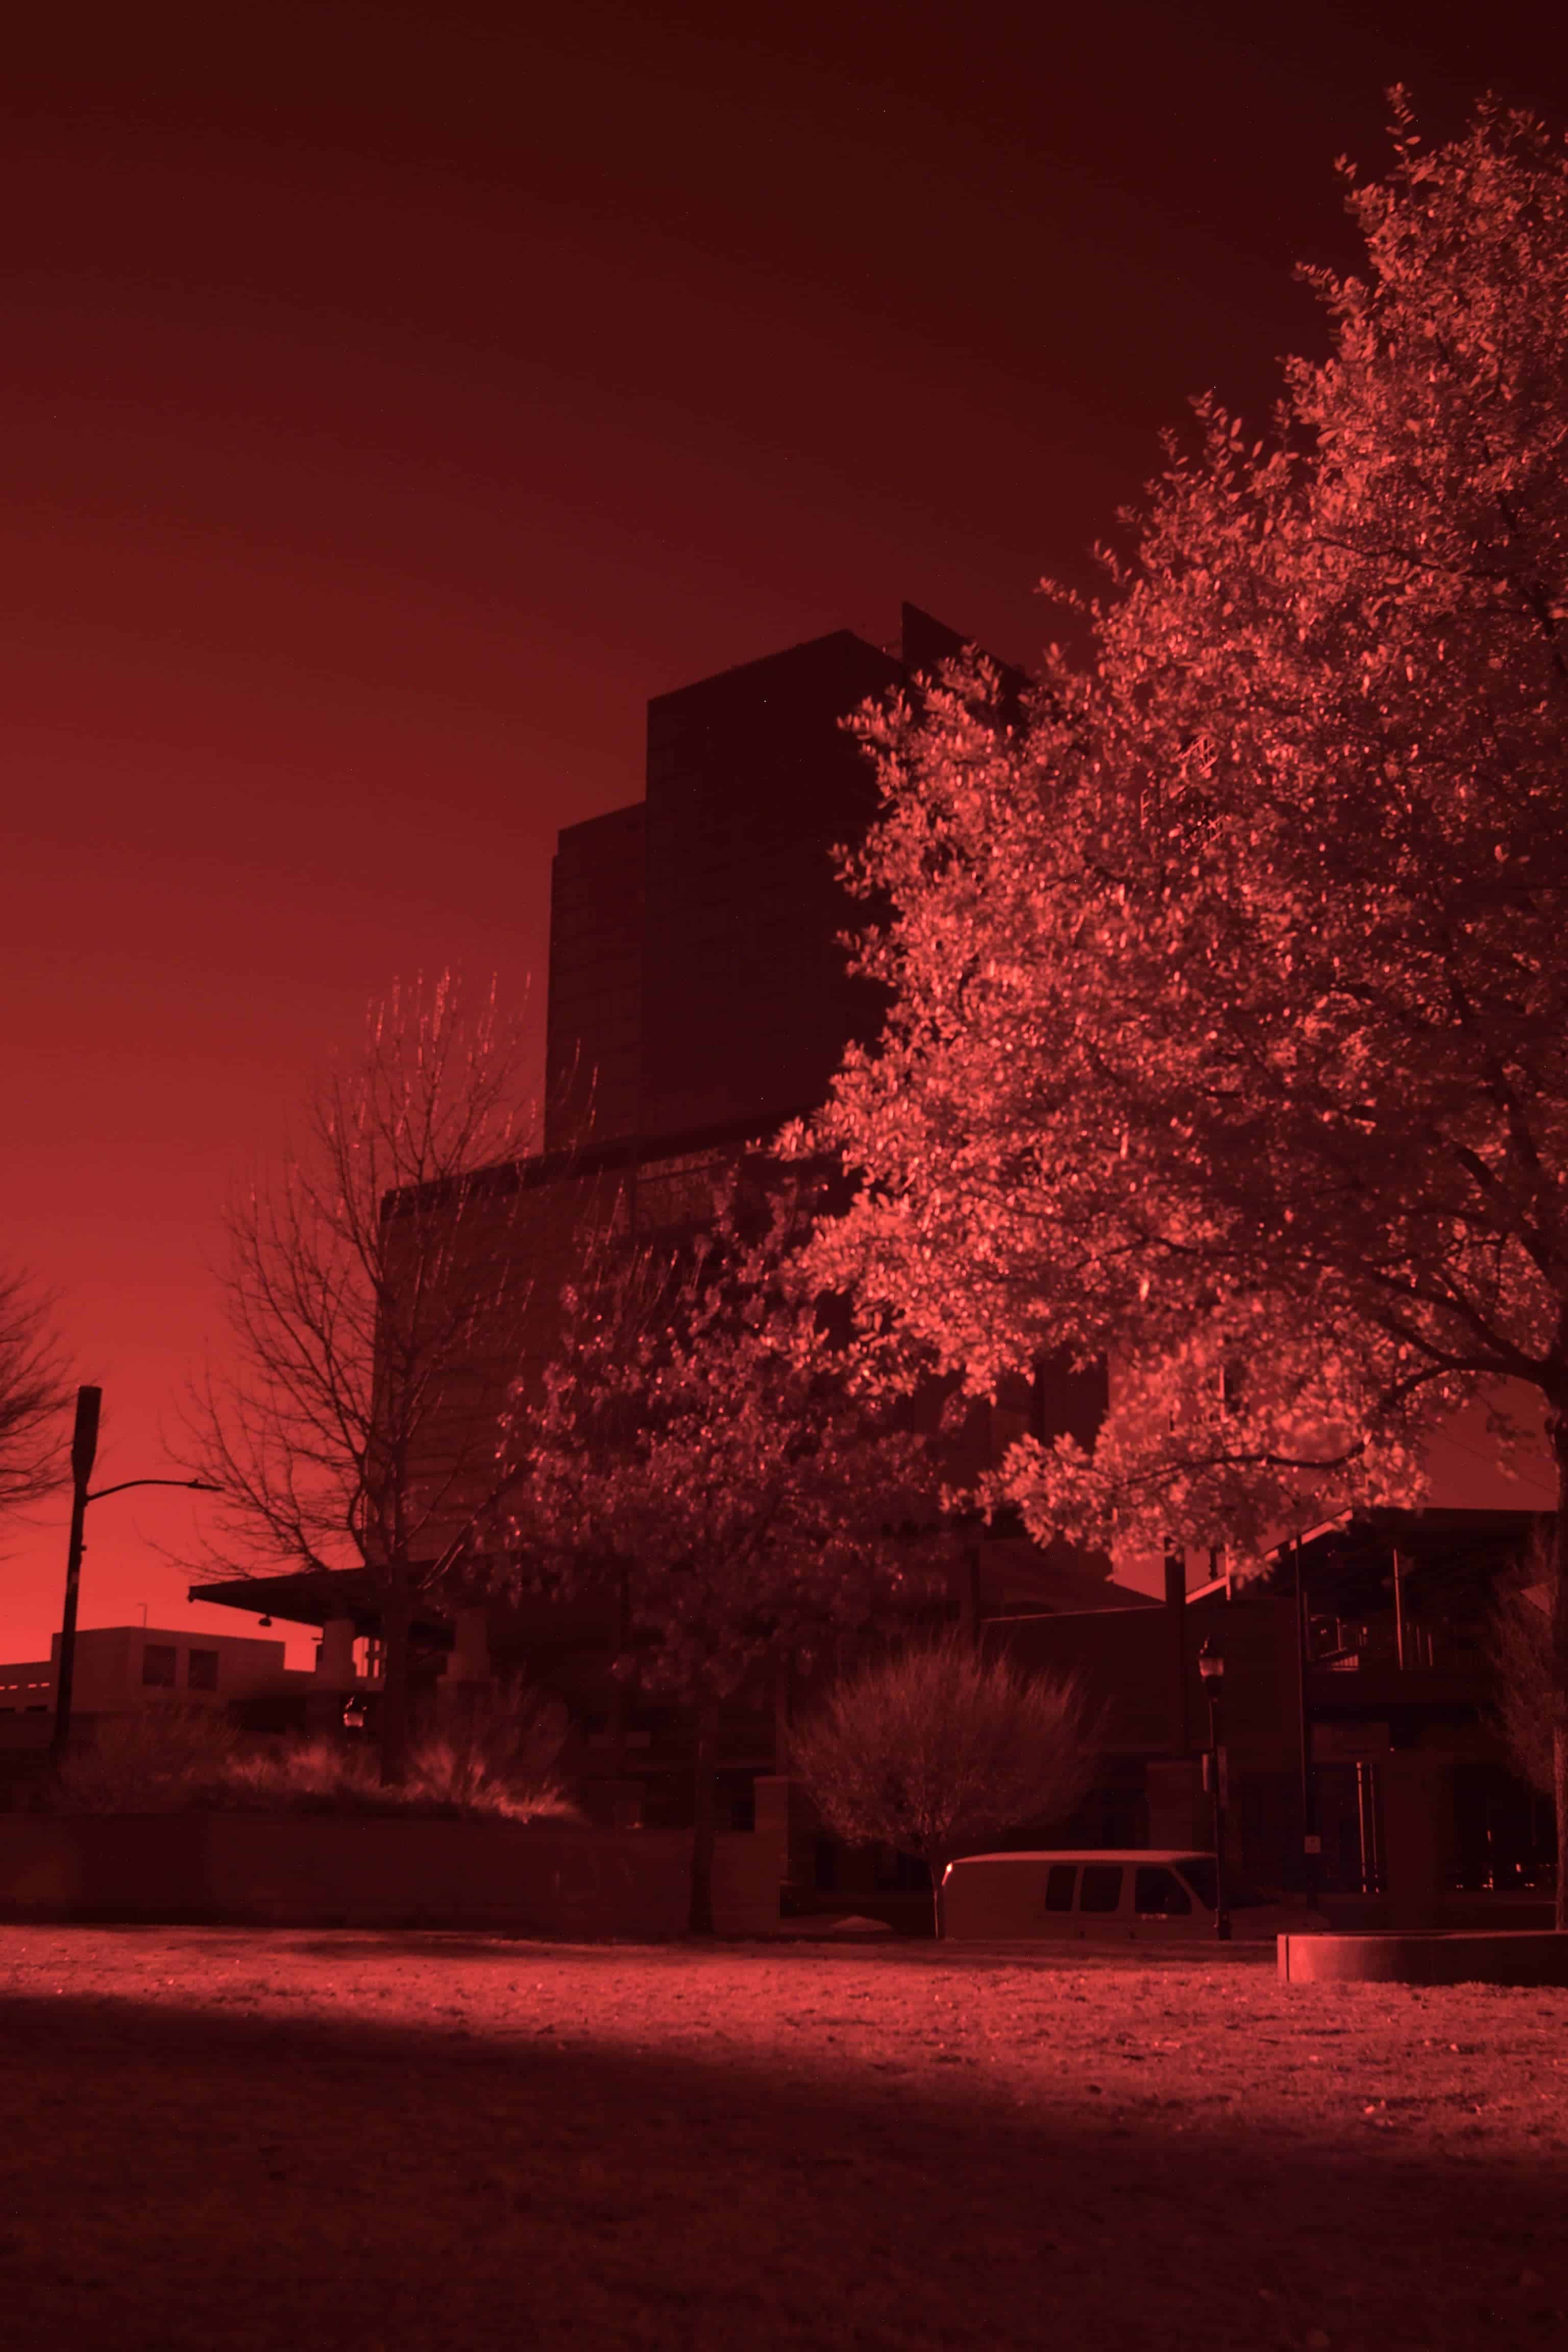
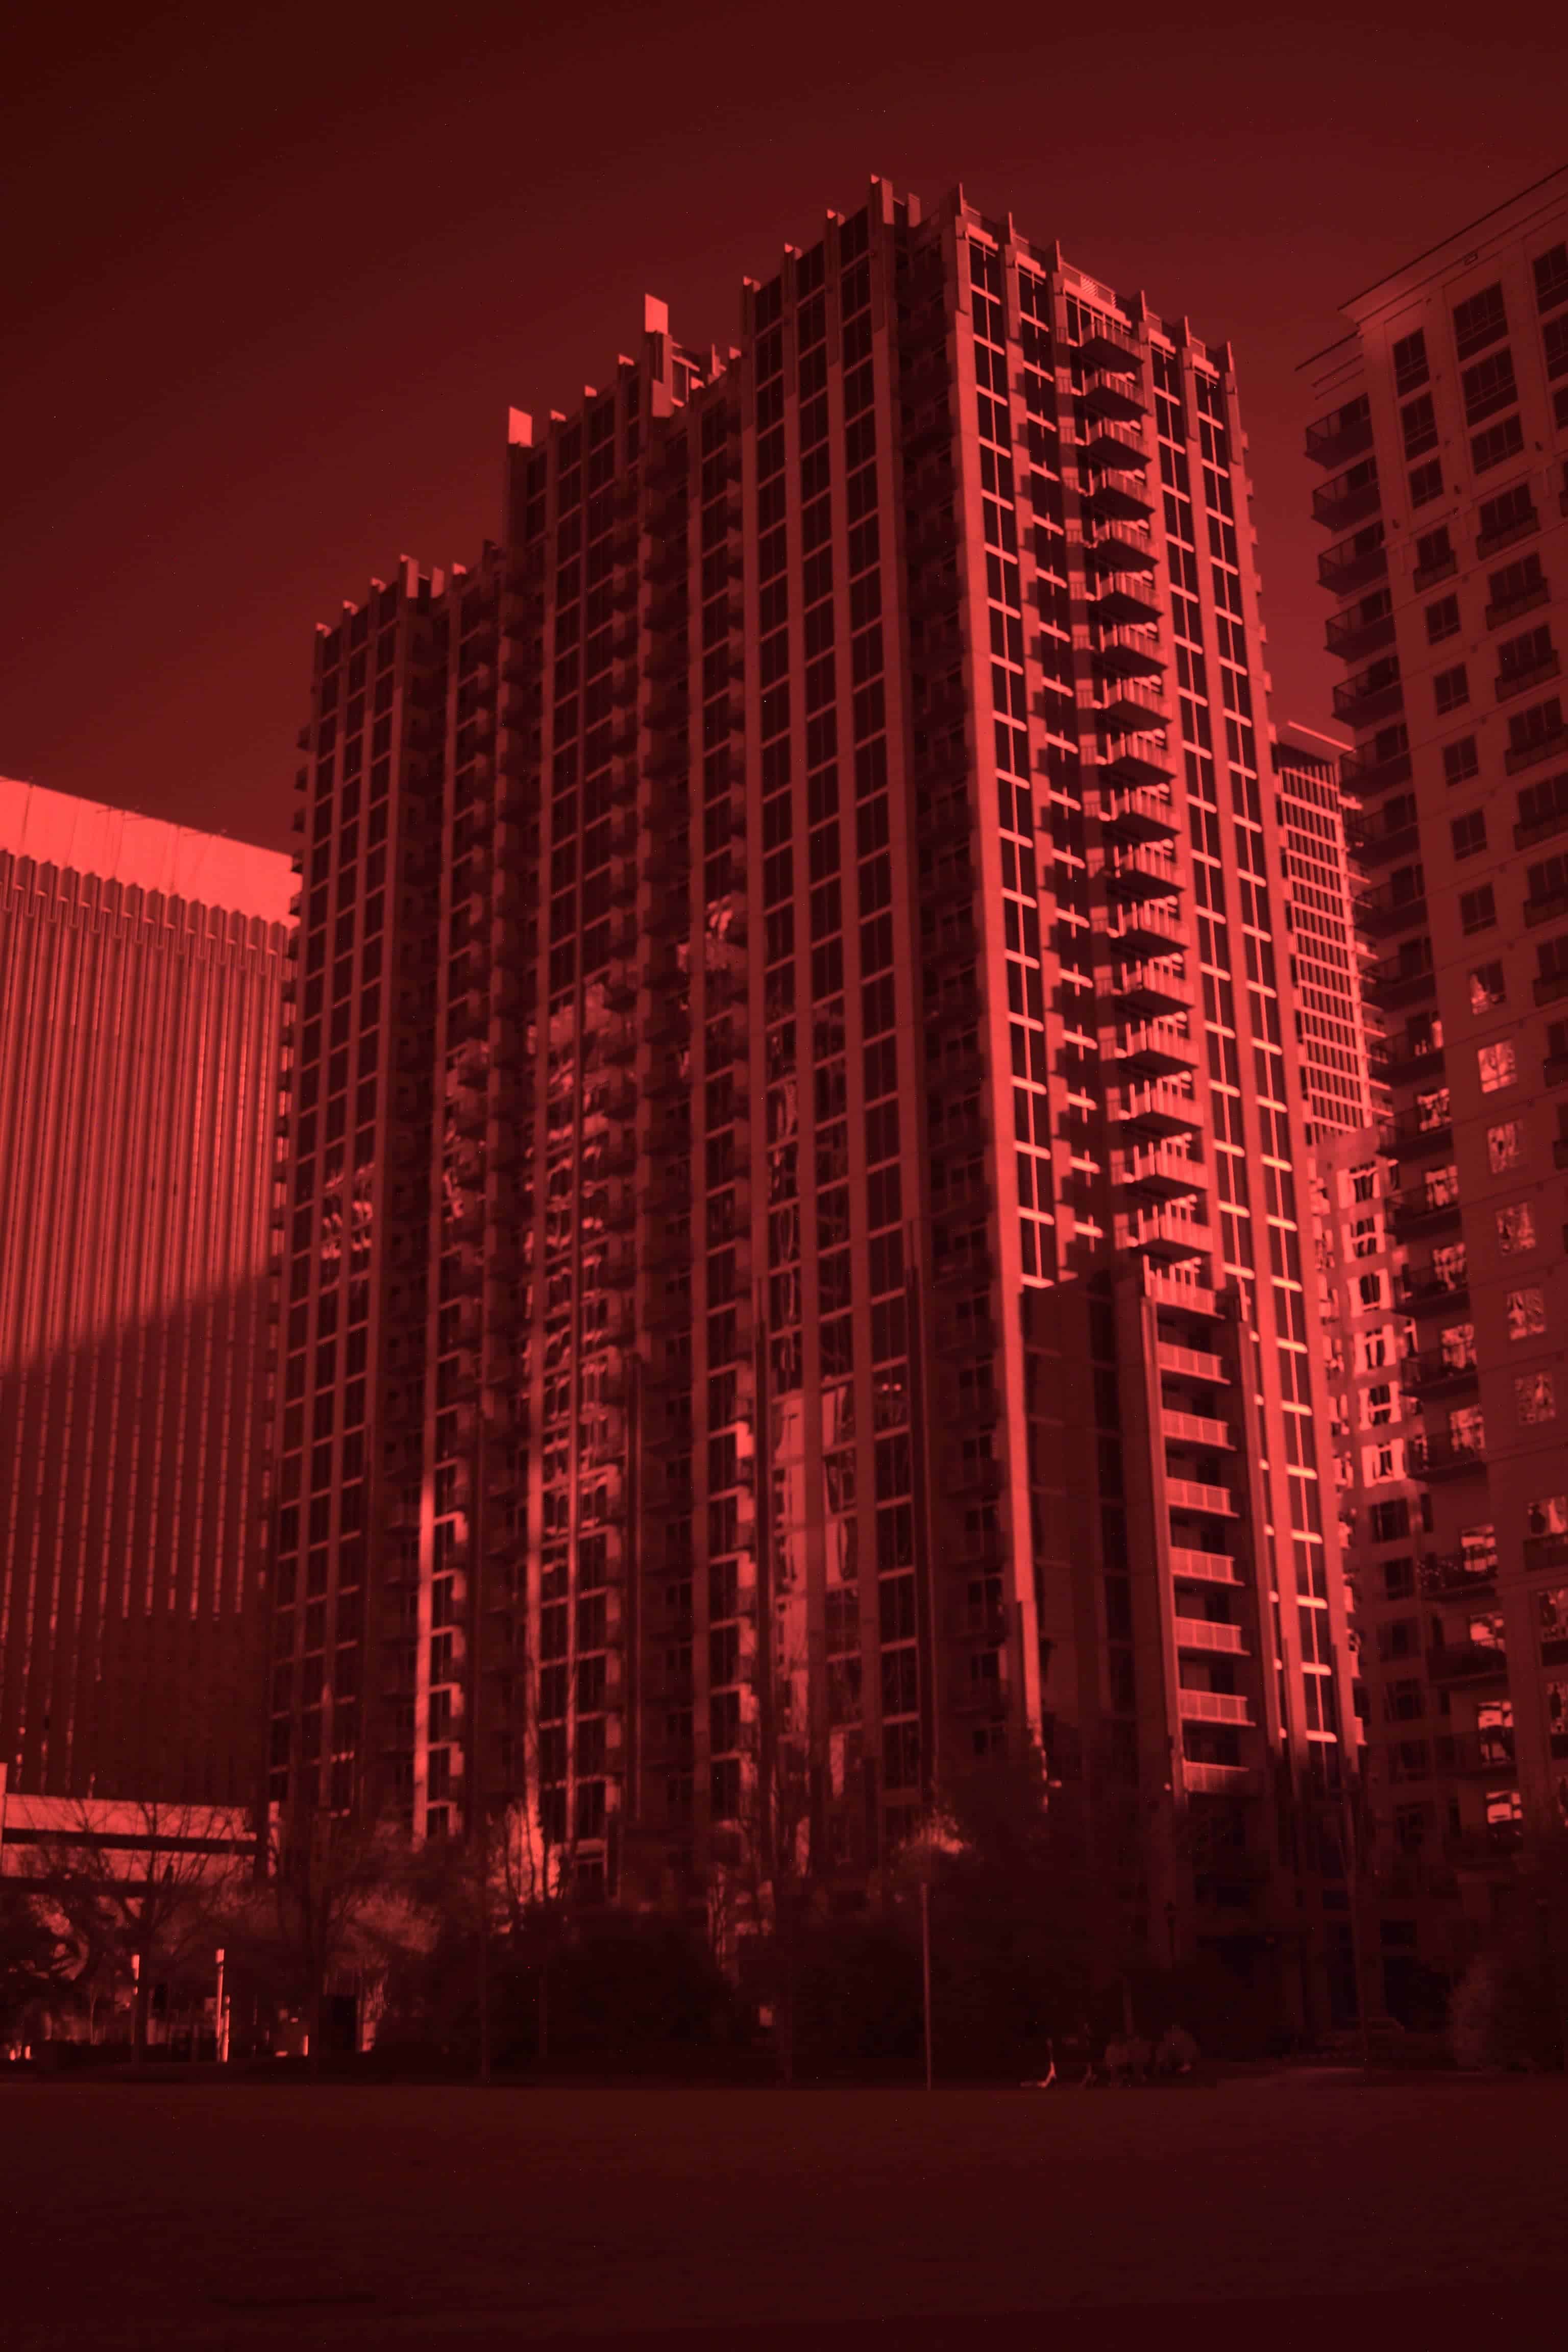
This was it. I had plenty of super sunny days to make use of the Infrared. You can use different weather patterns, but in my experience with this camera, Sunny weather had the best look. So back out into the fire. And it was my favorite NC heat.
This led to a different kind of failure.
Not in my control, I was thirsty, tired, and too hot to sit for 60 second exposures.


I ended up taking about 10 images back home. I surveyed what I had with dissatisfaction.
I still locked in 30 second exposures, but went for f/8 the entire time. I had less grain, but not enough light. This is why things still are slightly all one shade of orange. How was I going to fix this?
Third Times the Charm.
To put this into perspective; the time in between all these photos were spread out from 2/20/21 to 4/15/21. Now there’s a couple takeaways here. In February the foliage was sparse, but weather was nice. As it got warmer, the greens were lush, but the weather was the typical full blown Carolina humid heatwave.
So I was having a hard time because of my inexperience but also the seasonal effect. Not to make excuses, but to analyze the circumstances.
Once I hit the streets in April, I knew I was cooking with butter. Things felt different, I didn’t have a hard time doing this custom white balance nonsense. I just decided to take longer exposures for more light, and even let the ISO up. In some cases it almost looked as though the sky was filled with stars.
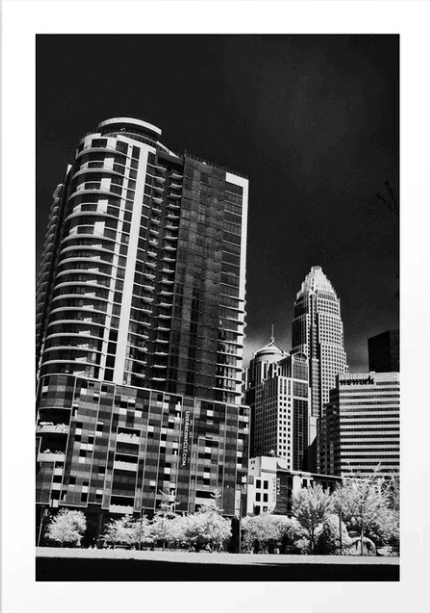
But I finally had White trees.
Converting them to black and white was so much easier because the channels actually made sense. Deeper reds, and harsher whites.
First image was pre focused, and exposed for the scene. I actually did use manual white balances for these. And guess what, It finally worked.
How did I do it?
Same way as before, by setting the white balance for green and just having more of it in the scene. I kept the shutter open for the usual 30 seconds. Upped the ISO to 200 with the usual everything sharp setting of f/8.
It also helped that along the way I found a friend to accompany me and ease the pressure so I didn’t find myself overthinking anything. It felt natural. How fun and random! He offered different lush spots we should try.
It was great to get an in the moment perspective from someone else.
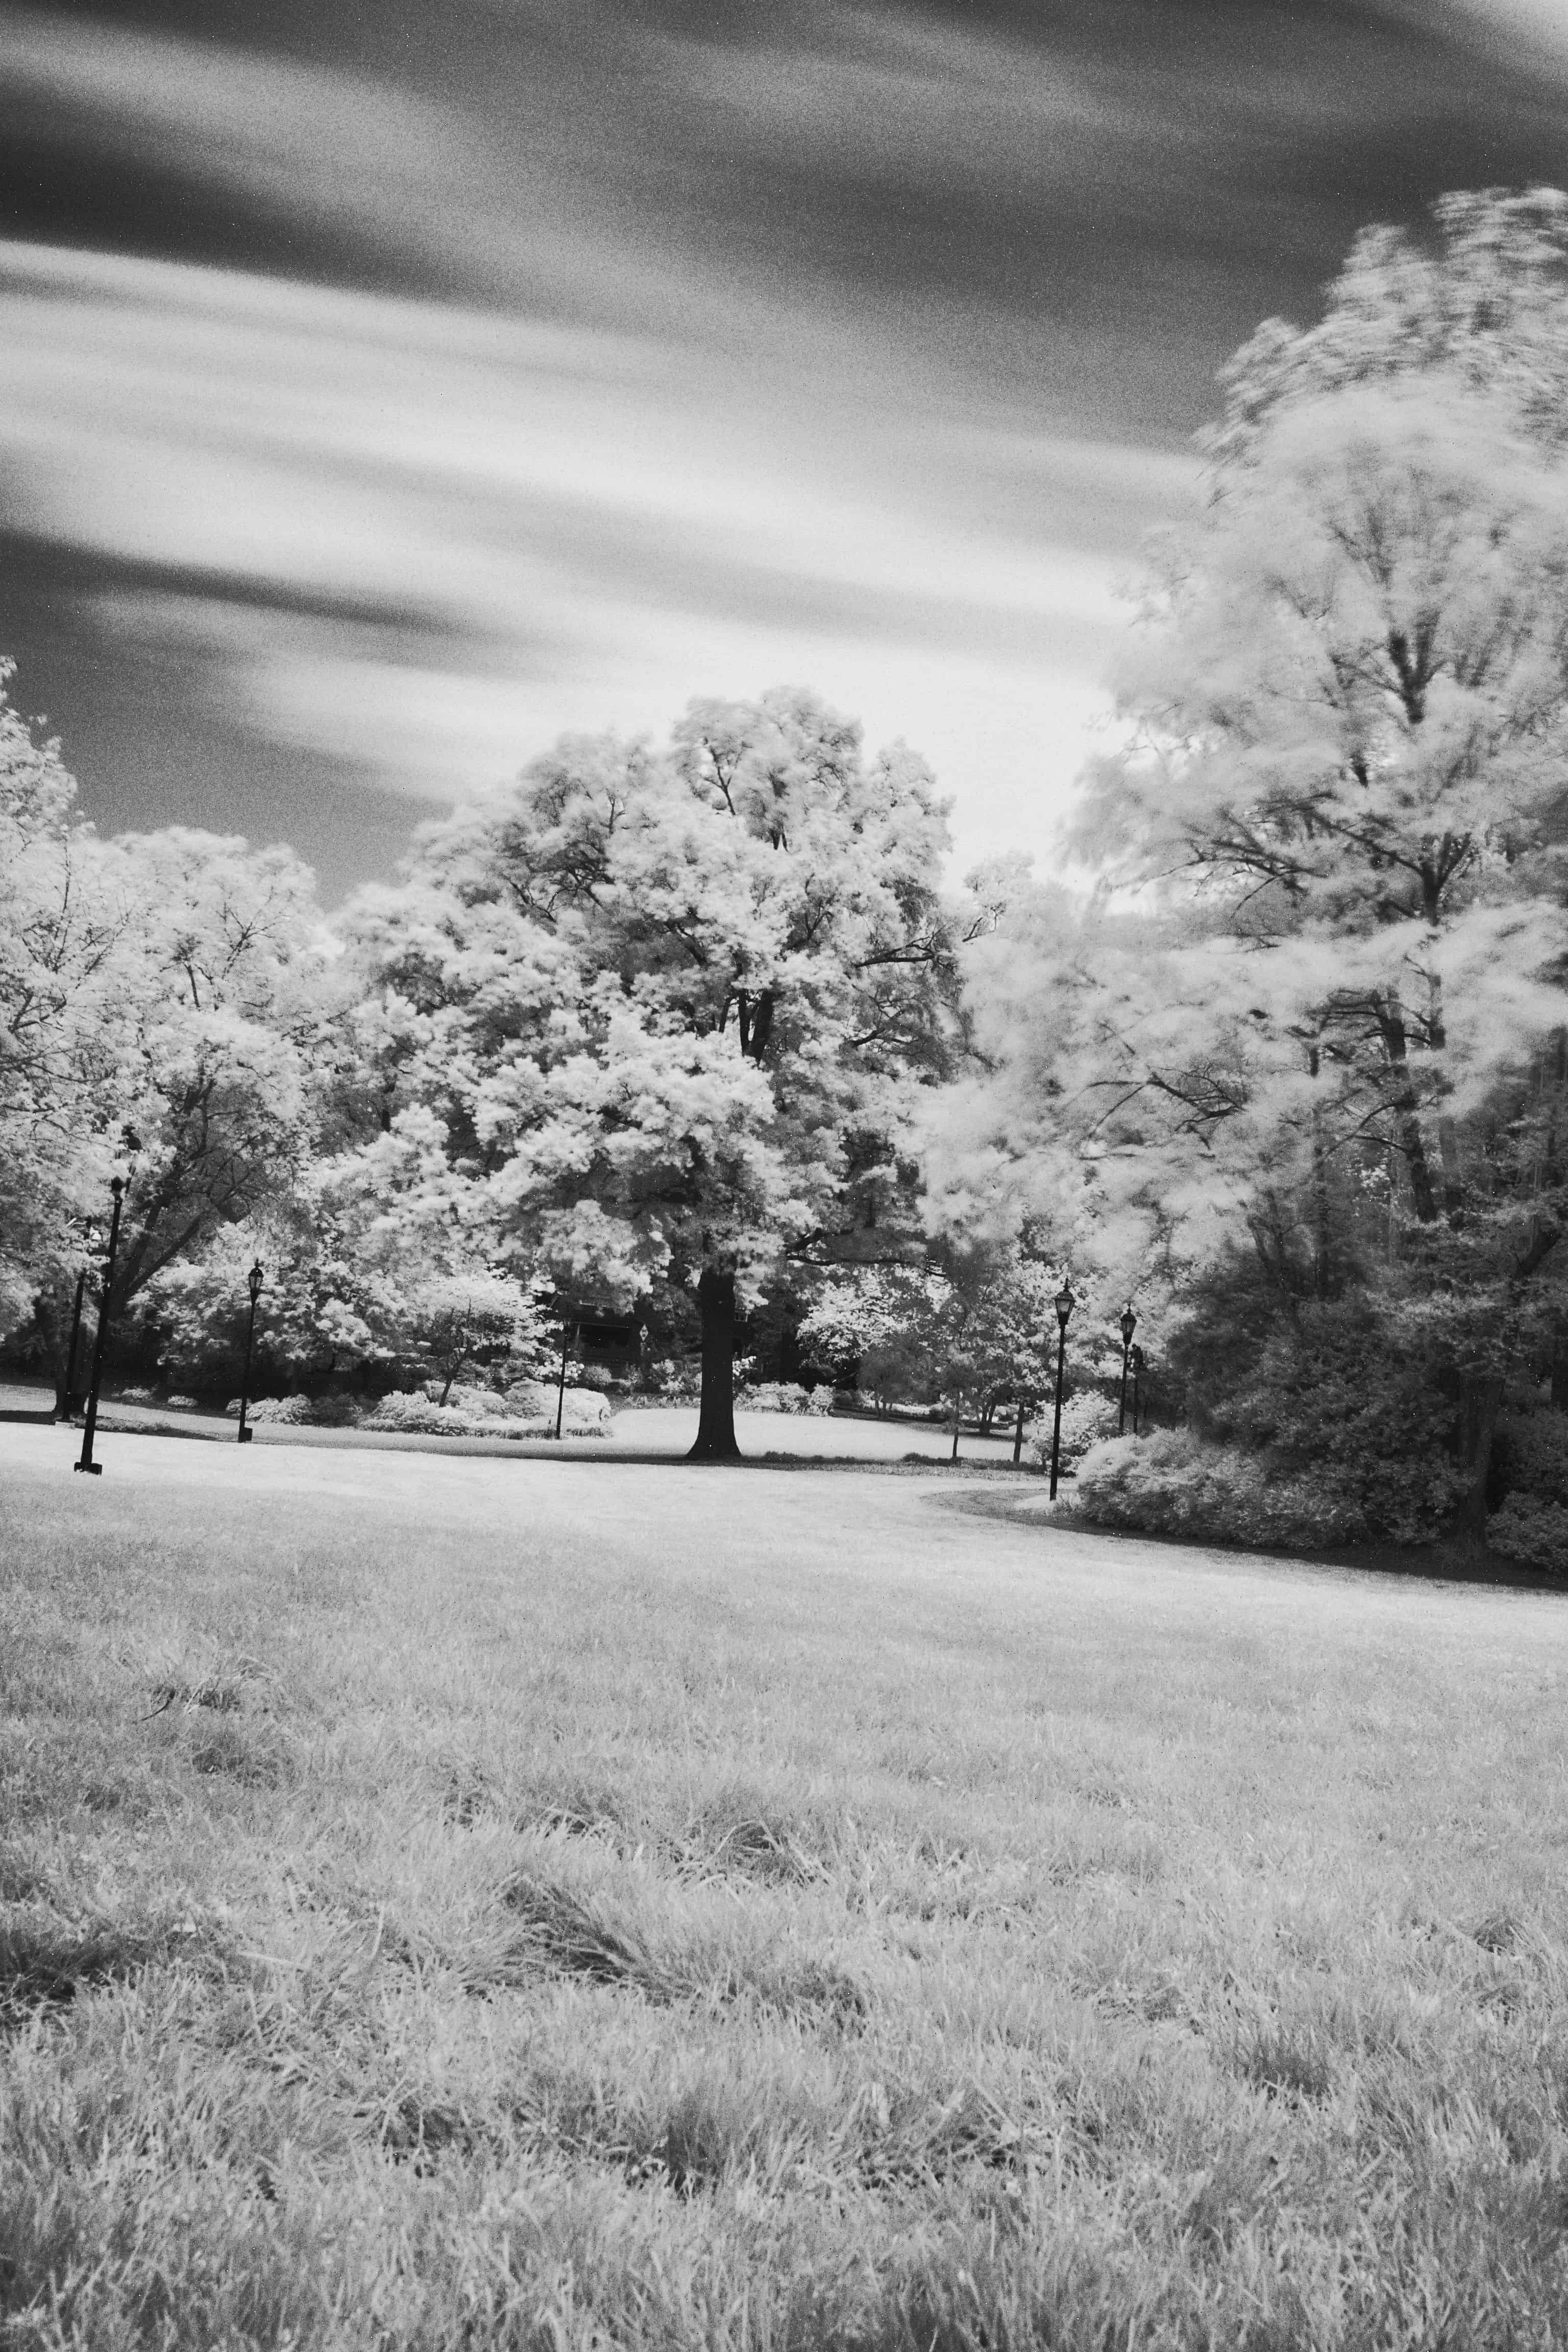
Its one of my favorites.
The struggle was real!
Closing Thoughts.
It took a couple months of surveying the season, and over ambition. Lots of blown exposures. Patience, and a unique editing process. I finally got the hang of it once I found my aesthetics locked in. When I go out next, I plan to utilize the bulb setting with a remote shutter to expose for even longer than 60s so I don’t have to crank my ISO up. Find ways around the limitations of your hardware!
Check out the next part where I discuss editing Infrared Images.
-
30% Off Photography Prints & Posters

Decorate your new dorm or apartment with Society6’s Back to School Promotion. Save up to 40% on Posters, Framed Prints, Acrylic Prints, Wood Prints and mix and match your favorite artwork.
-
The Essence of Puerto Rico | An Adventurous Perspective
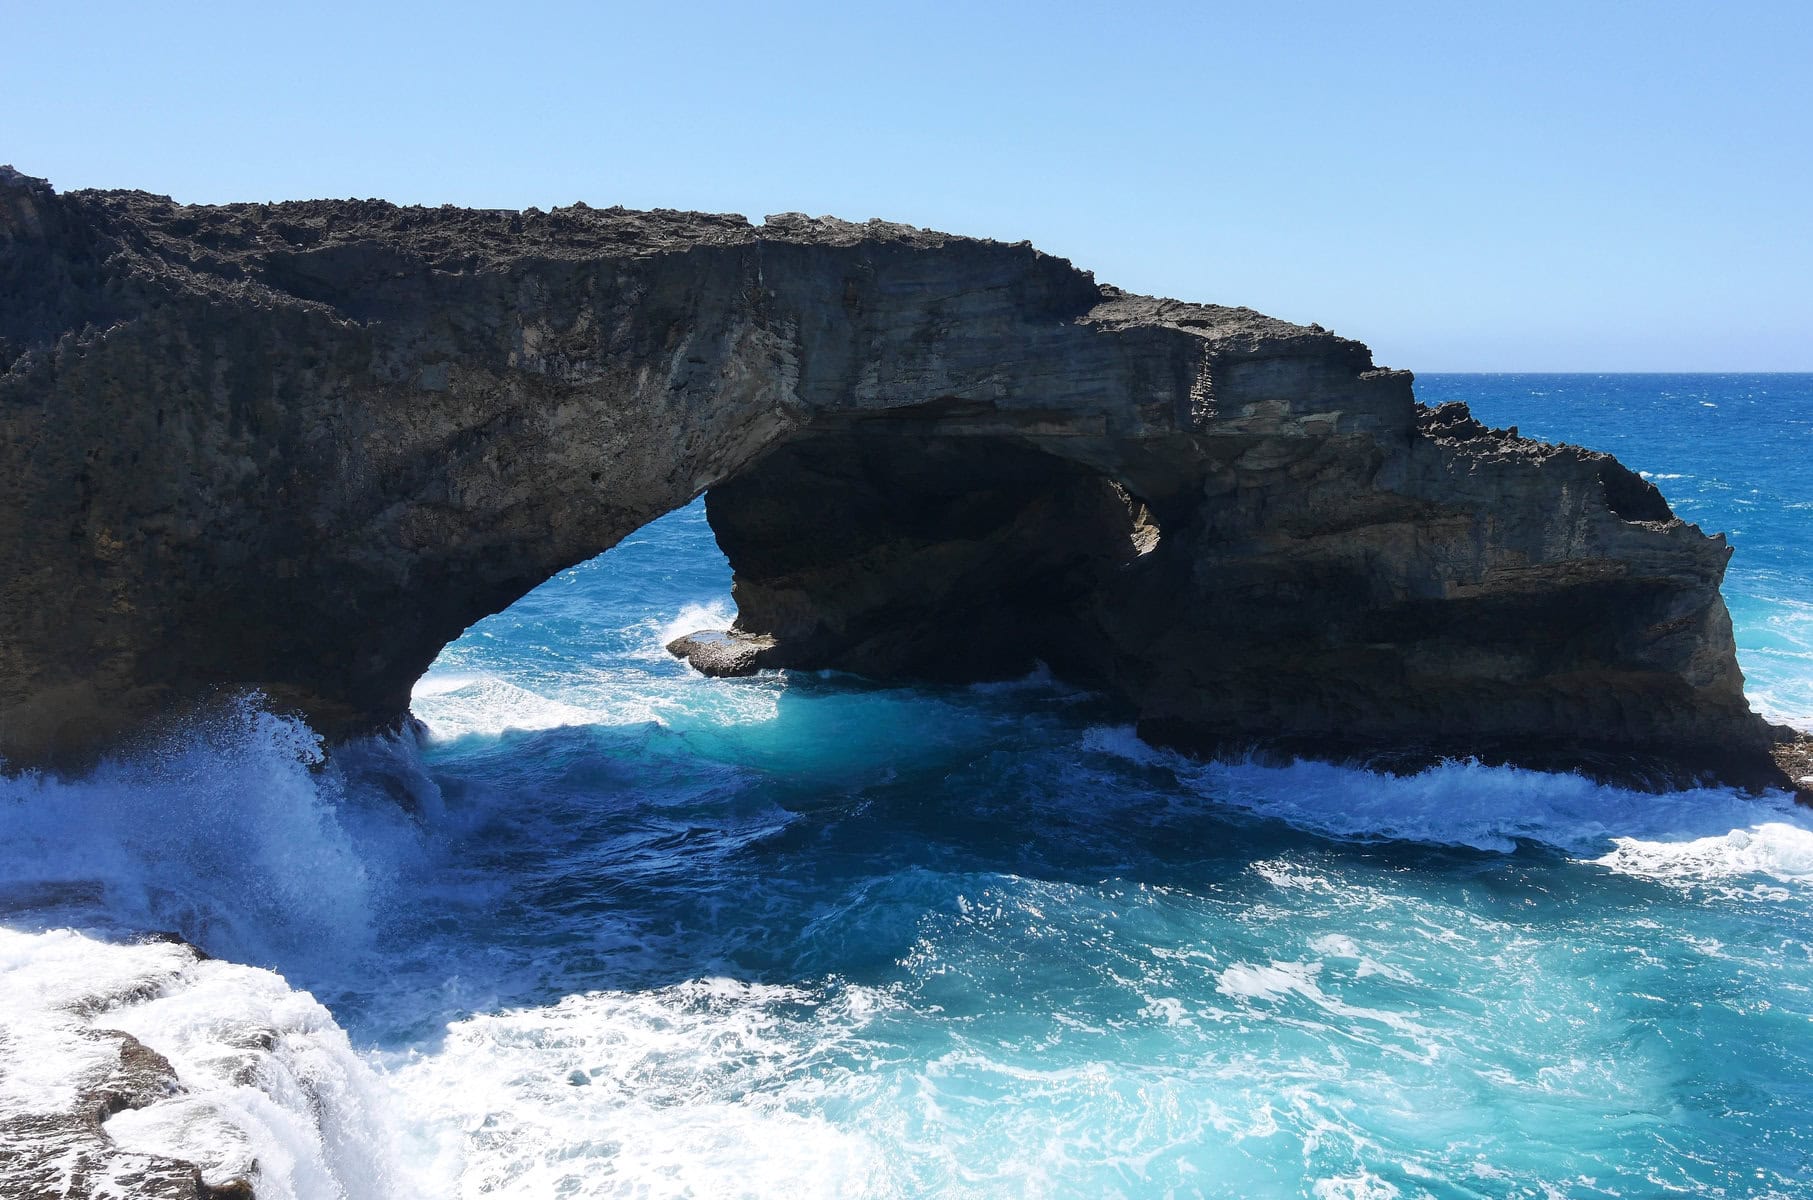
Often overlooked, Puerto Rico offers diverse landscapes and vibrant colors, making it a paradise for photographers. Key highlights include: I wanted to visit Puerto Rico because I didn’t need a passport. Plus, airfare and travel cost are much lower than other vacation destinations. You’ll see what drew me to Puerto Rico in a glimpse with…
-
What’s Been Selling
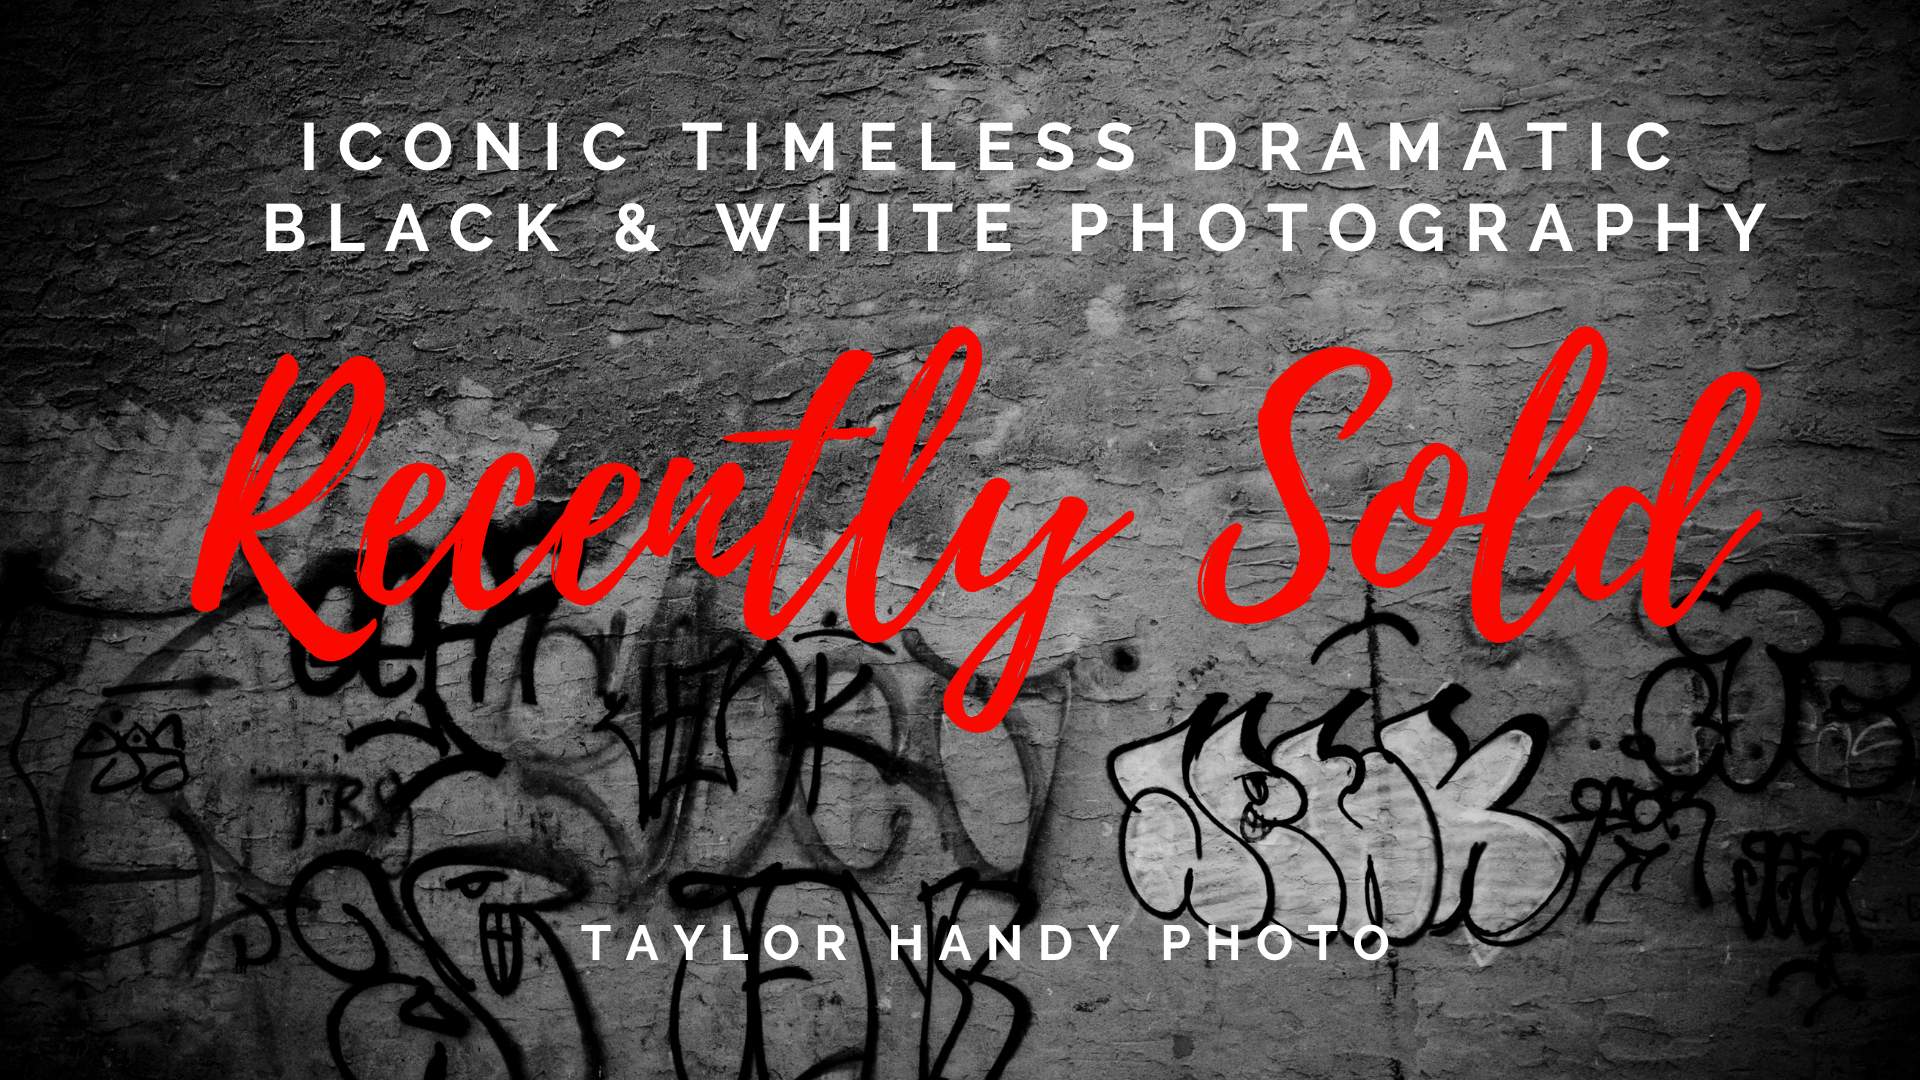
Photography is an art form that captures the beauty of the world around us. And what better way to showcase this beauty than through stunning photography prints? Society6 is a platform that allows photographers and artists to sell their work as high-quality prints. In recent years, some photography prints have been selling like hotcakes on…
-
Camera Day With My Brother | CLT, NC
